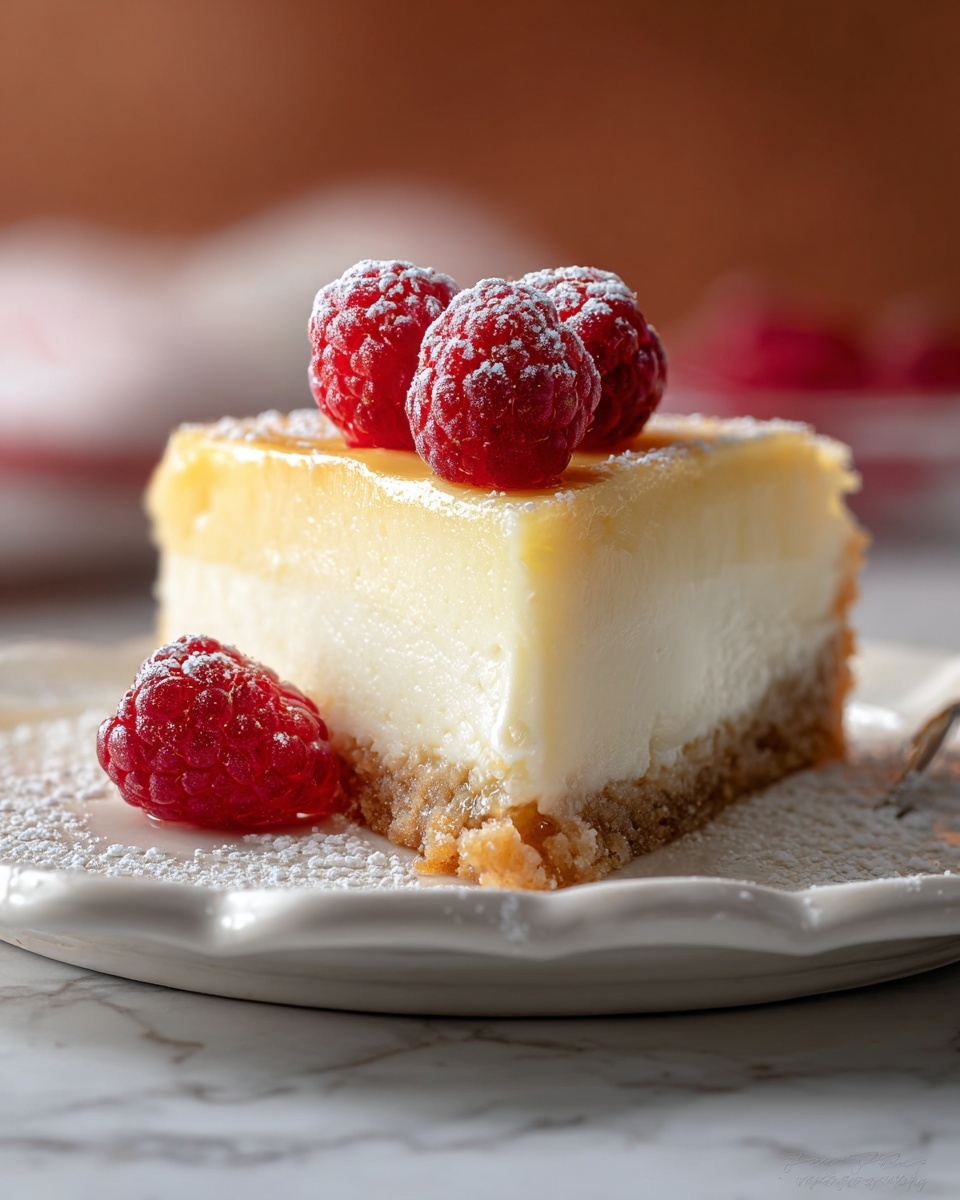
If you’re looking for the perfect little treat that combines creamy richness with a delightful crunch, this Mini Cheesecakes Recipe is an absolute winner. These bite-sized desserts balance a buttery vanilla wafer base with a smooth, tangy cheesecake filling, making them irresistibly charming and easy to enjoy anytime. Whether you’re hosting a gathering or simply craving a luscious sweet bite, these mini cheesecakes will quickly become your go-to dessert.
Ingredients You’ll Need
The magic of this Mini Cheesecakes Recipe lies in its simplicity, with a handful of ingredients that come together beautifully to deliver impressive flavor and texture. Each element is carefully chosen to add depth and creaminess, ensuring every mini cheesecake feels indulgent yet balanced.
- Vanilla wafer cookies: These form the crisp, slightly sweet base that adds texture and a nostalgic flavor.
- Cream cheese, softened: The star of the recipe, providing that classic creamy and tangy cheesecake taste.
- Granulated sugar: Sweetens the cheesecake filling to perfection without overpowering it.
- Large eggs: Help to set the cheesecake and give it a smooth, custardy texture.
- Vanilla extract: Enhances the overall flavor by adding a subtle warmth and aromatic quality.
- Sour cream: Adds a slight tang and extra silkiness that elevate the cream cheese filling.
- Fresh berries or fruit compote (optional): Provides a bright, fruity contrast and beautiful color for serving.
How to Make Mini Cheesecakes Recipe
Step 1: Prepare Your Oven and Muffin Tin
Start by preheating your oven to 350°F (175°C) and lining a muffin tin with paper cupcake liners. This simple preparation step ensures even cooking and easy removal of your mini cheesecakes once baked, saving you from any sticky mess.
Step 2: Create the Crust Base
Place one vanilla wafer cookie at the bottom of each cupcake liner. These will serve as the crunchy, flavorful crust for your mini cheesecakes, adding a touch of sweetness and a sturdy foundation for the creamy filling.
Step 3: Mix Cream Cheese and Sugar
In a mixing bowl, beat the softened cream cheese and granulated sugar together until the mixture becomes smooth and creamy. This step is crucial to avoid lumps and to achieve that perfect cheesecake texture everyone loves.
Step 4: Add Eggs
Add the eggs one at a time, beating well after each addition. This gradual incorporation keeps the batter velvety and helps the cheesecake set just right during baking.
Step 5: Stir in Vanilla and Sour Cream
Next, mix in the vanilla extract and sour cream until everything is well combined. The sour cream not only lends a pleasant tang but also ensures the filling stays moist and silky.
Step 6: Fill the Liners
Spoon the cream cheese mixture evenly over each vanilla wafer in the cupcake liners, filling each about three-quarters full. This allows enough room for the cheesecake to rise slightly without overflowing.
Step 7: Bake to Perfection
Bake the mini cheesecakes in your preheated oven for 15 to 18 minutes, until they’re set and the edges have developed a light golden hue. Watching for this subtle color change helps prevent overbaking and keeps the centers luscious and tender.
Step 8: Cool Thoughtfully
Remove the tin from the oven and allow the cheesecakes to cool for 15 minutes in the tin. Then, transfer them to a wire rack to cool completely. This gradual cooling helps maintain their shape and texture.
Step 9: Chill Before Serving
Refrigerate your mini cheesecakes for at least two hours or preferably overnight. Chilling solidifies the texture and melds the flavors, turning these little desserts into pure perfection.
Step 10: Add Optional Toppings
Before serving, top your mini cheesecakes with fresh berries or a vibrant fruit compote. This adds a burst of color and a refreshing contrast that enhances the overall tasting experience.
How to Serve Mini Cheesecakes Recipe
Garnishes
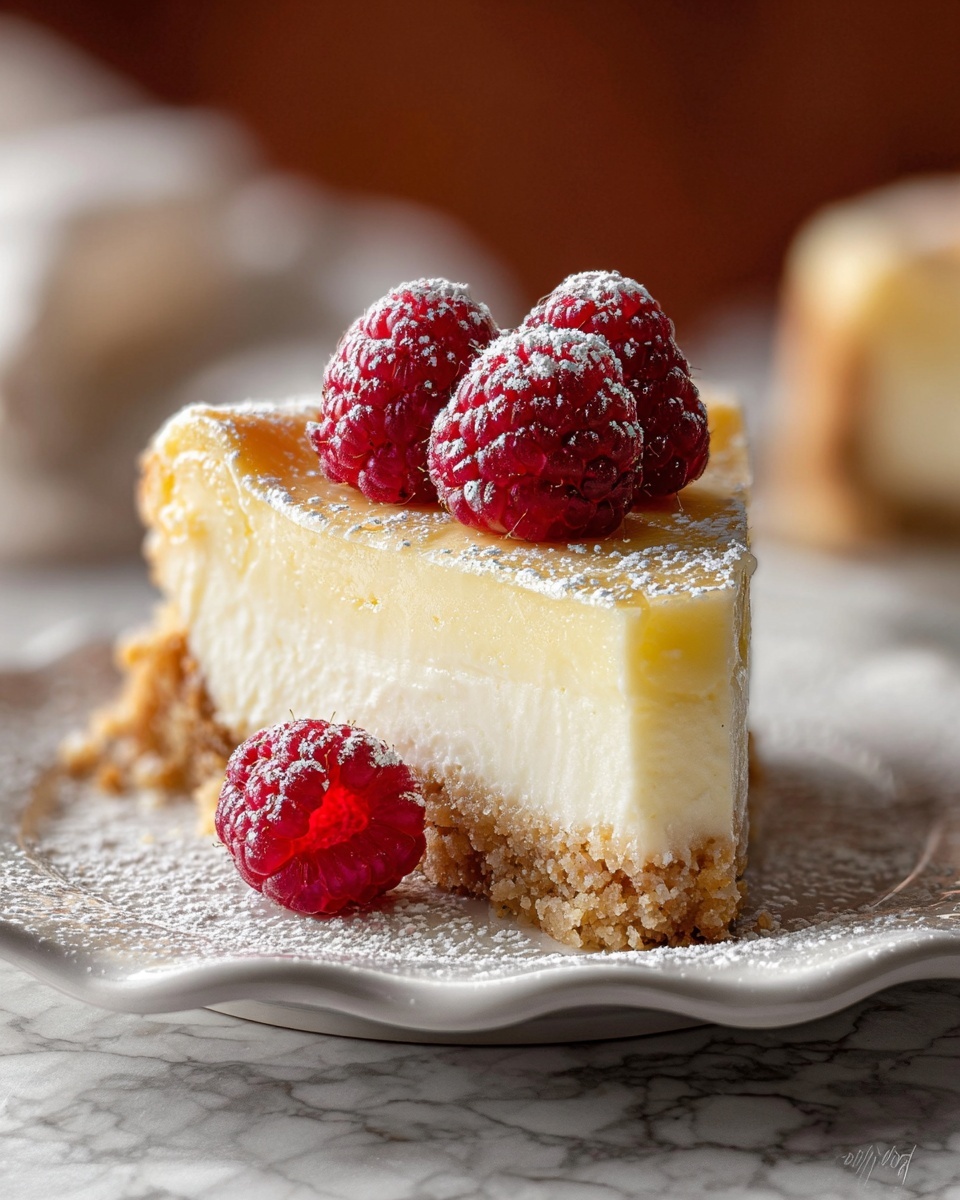
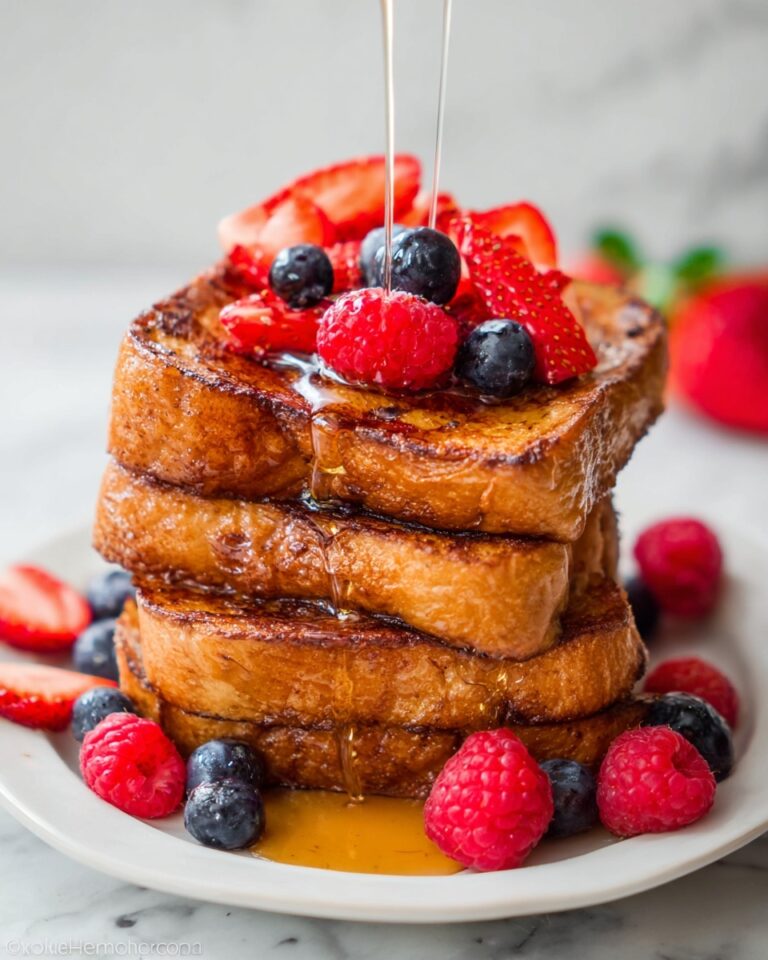
To make your mini cheesecakes even more inviting, consider garnishing them with a handful of fresh raspberries, blueberries, or sliced strawberries. A light dusting of powdered sugar or a drizzle of honey can also elevate the look and flavor, making them perfect for a party or casual get-together.
Side Dishes
While these mini cheesecakes shine as a stand-alone dessert, pairing them with lightly sweetened whipped cream or a scoop of vanilla ice cream creates a decadent experience. For a tangy twist, serve alongside citrus segments or a spoonful of passion fruit pulp.
Creative Ways to Present
For a fun and festive presentation, arrange your mini cheesecakes on a tiered dessert stand with colorful edible flowers or mint leaves scattered around. Alternatively, serve them in small glass jars layered with fruit compote for a visually stunning, portable treat.
Make Ahead and Storage
Storing Leftovers
Once cooled and refrigerated, mini cheesecakes should be stored in an airtight container to maintain freshness. They will keep well in the fridge for up to 4 days, allowing you to savor these delightful treats over several days without any loss in quality.
Freezing
If you want to make these mini cheesecakes ahead of time or save some for later, freezing is a great option. Place them on a baking sheet to freeze individually first, then transfer to a freezer-safe container. They can be frozen for up to 2 months, ready to thaw overnight in the fridge before serving.
Reheating
When you’re ready to enjoy frozen mini cheesecakes, it’s best to thaw them slowly in the refrigerator for several hours. Avoid microwaving as it can affect the texture. Once thawed, serve chilled or at room temperature for maximum creaminess and flavor.
FAQs
Can I use a different cookie for the crust?
Absolutely! While vanilla wafers are classic, graham crackers or shortbread cookies also work wonderfully and add their own unique crunch and flavor to your mini cheesecakes.
Do I need a water bath to bake these mini cheesecakes?
Because these mini cheesecakes are small and baked in individual liners with a cookie base, a water bath is not necessary. The shorter baking time and cupcake liners keep them moist and tender.
How do I prevent cracks in the cheesecake filling?
To avoid cracks, blend the ingredients well but avoid overmixing, bake at the right temperature, and allow the cheesecakes to cool gradually. Chilling thoroughly before serving also helps maintain a smooth finish.
Can I make these mini cheesecakes gluten-free?
Yes! Replace the vanilla wafers with your favorite gluten-free cookies or crushed gluten-free graham crackers to keep the recipe safe for gluten-sensitive guests.
How long do mini cheesecakes last at room temperature?
Mini cheesecakes should not be left out at room temperature for more than two hours due to the dairy content. For best taste and safety, keep them refrigerated until just before serving.
Final Thoughts
There’s something truly joyful about sharing these dainty, creamy treats with friends and family. This Mini Cheesecakes Recipe not only delivers on flavor but is also wonderfully easy to make, ensuring you can whip up a batch whenever you crave a little sweet indulgence. Give it a try and watch these delightful mini cheesecakes disappear in no time!
Print
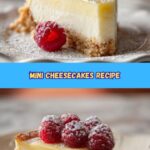
Mini Cheesecakes Recipe
- Prep Time: 20 minutes
- Cook Time: 18 minutes
- Total Time: 2 hours 38 minutes
- Yield: 12 mini cheesecakes
- Category: Dessert
- Method: Baking
- Cuisine: American
Description
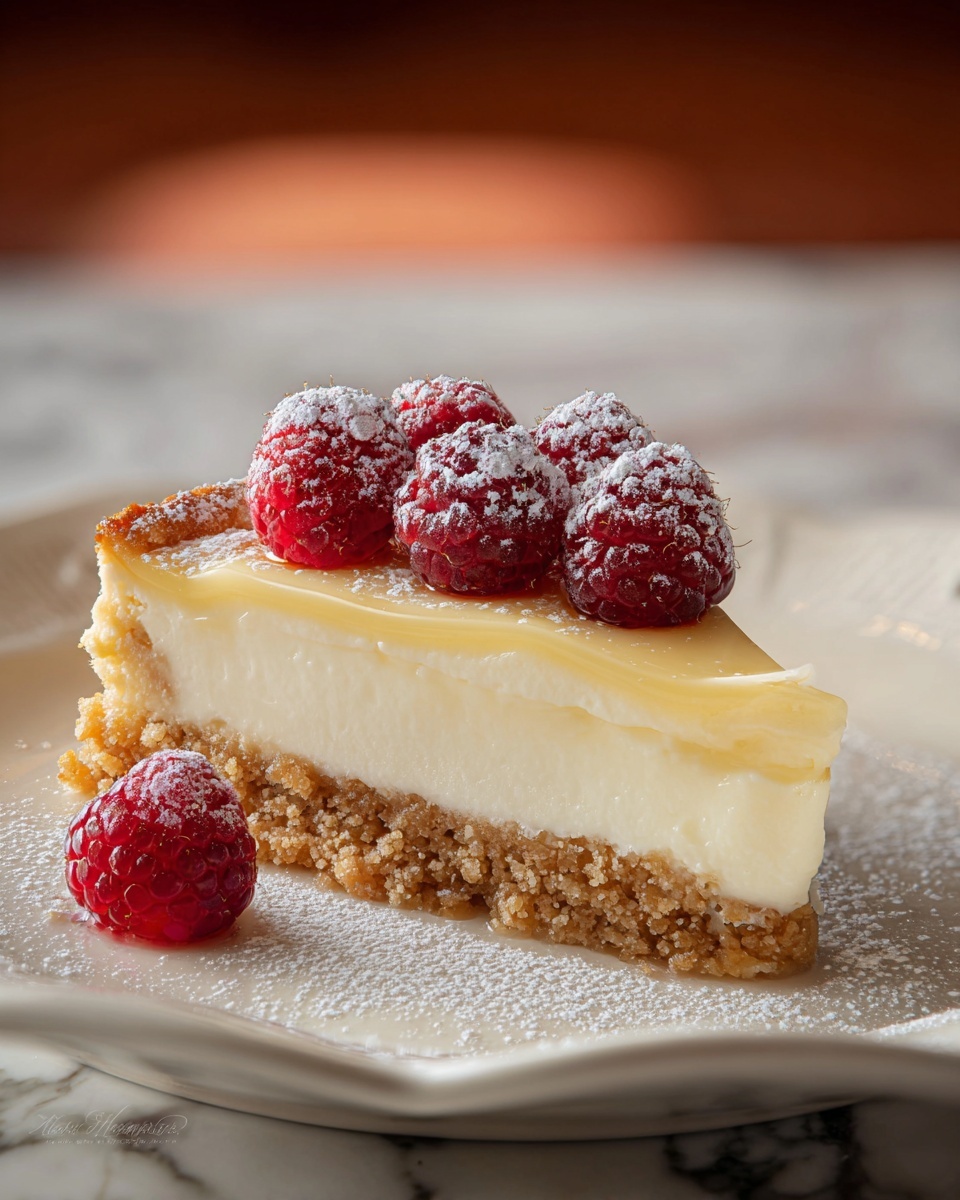
Delightful mini cheesecakes featuring a creamy, smooth filling atop a crispy vanilla wafer base. Perfectly portioned for individual servings, these easy-to-make treats are baked to a light golden finish and can be topped with fresh berries or a fruit compote for added flavor and elegance.
Ingredients
Base
- 12 vanilla wafer cookies
Cheesecake Filling
- 2 (8-ounce) packages cream cheese, softened
- 1/2 cup granulated sugar
- 2 large eggs
- 1 teaspoon vanilla extract
- 1/4 cup sour cream
Topping (Optional)
- Fresh berries or fruit compote, for topping
Instructions
- Preheat Oven and Prepare Pan: Preheat your oven to 350°F (175°C) and line a muffin tin with paper cupcake liners to prevent sticking and facilitate easy removal.
- Arrange Cookie Bases: Place one vanilla wafer cookie at the bottom of each cupcake liner to form the crust for each mini cheesecake.
- Mix Cream Cheese and Sugar: In a mixing bowl, blend the softened cream cheese and granulated sugar until the mixture is smooth and creamy, ensuring no lumps remain.
- Add Eggs: Incorporate the eggs one at a time, thoroughly mixing after each addition to maintain a smooth texture in the batter.
- Add Flavorings: Stir in the vanilla extract and sour cream until the mixture is evenly combined, creating a rich and flavorful filling.
- Fill Cupcake Liners: Spoon the cream cheese mixture evenly over each vanilla wafer cookie in the liners, filling each about three-quarters full to allow room for rising.
- Bake: Bake in the preheated oven for 15 to 18 minutes, or until the cheesecakes are set and the edges turn lightly golden, indicating doneness.
- Cool in Pan: Remove the muffin tin from the oven and let the mini cheesecakes cool in the pan for 15 minutes to set further.
- Transfer to Wire Rack: Carefully remove each cheesecake from the liners and place them on a wire rack to cool completely, preventing condensation from making the bottoms soggy.
- Refrigerate: Chill the cheesecakes in the refrigerator for at least 2 hours or preferably overnight to allow the flavors to meld and the texture to firm up.
- Add Toppings and Serve: Before serving, top with fresh berries or a fruit compote if desired, to enhance flavor and presentation.
Notes
- Ensure the cream cheese is softened to room temperature to avoid lumps and achieve a smooth batter.
- Do not overfill the cupcake liners to prevent spillage during baking.
- Using paper liners makes removal easier, but silicon liners can also be used for sturdiness.
- Chilling the cheesecakes overnight improves texture and taste.
- Customize toppings with seasonal fruits, chocolate drizzle, or caramel sauce for variety.

