
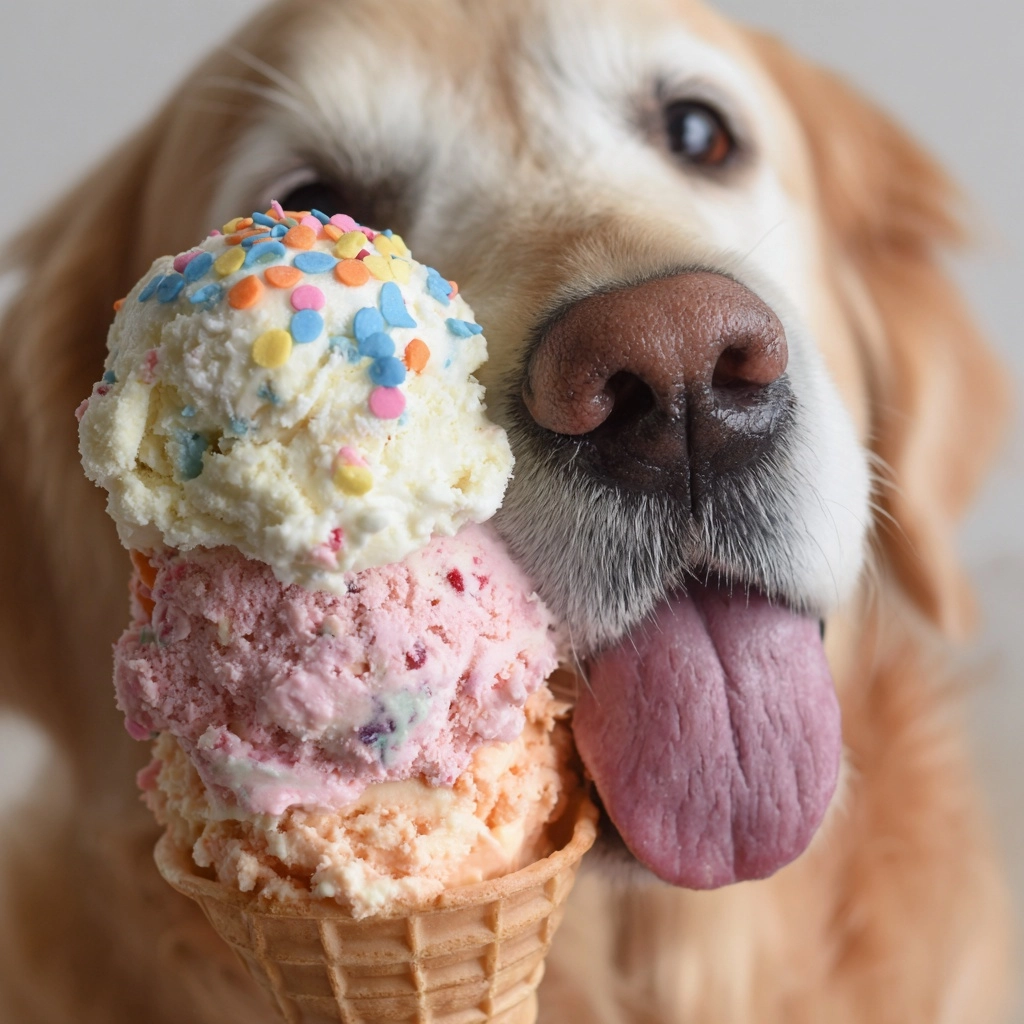
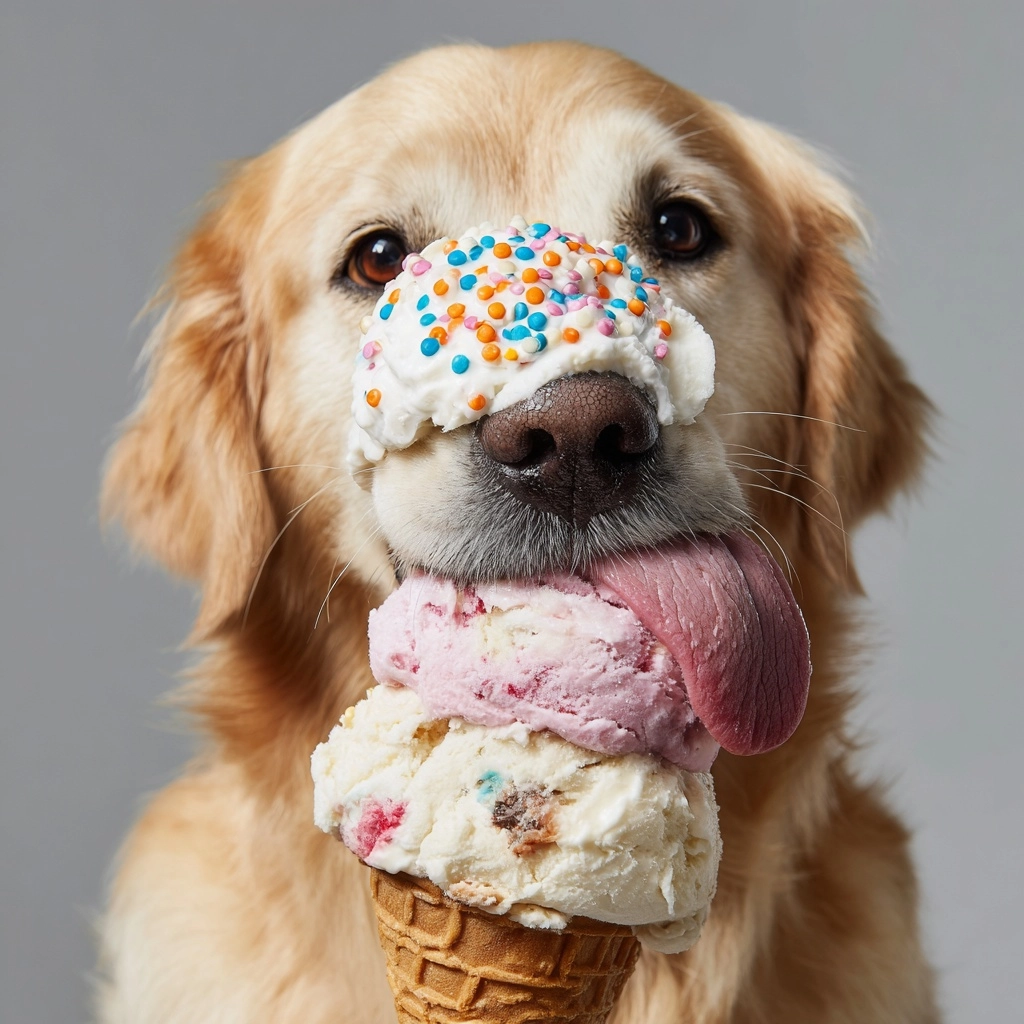
If you’re looking to delight your furry friend with a refreshing and wholesome treat, this DIY Doggy Ice Cream Recipe is an absolute game-changer. It’s naturally sweet, packed with dog-safe ingredients, and so easy to whip up that you’ll find yourself making it regularly. Imagine your pup’s tail wagging wildly for this creamy, peanut buttery frozen delight that’s just perfect after a sunny walk or any day that calls for a cool snack. Trust me, this recipe will become your dog’s new favorite way to beat the heat and feel loved.
Ingredients You’ll Need
The beauty of this recipe lies in its simplicity. Just a handful of ingredients, each chosen thoughtfully, come together to create a treat that’s creamy, flavorful, and healthy. Every component plays an important role — whether it’s the natural sweetness of bananas or the protein boost from Greek yogurt.
- 2 ripe bananas: These add natural sweetness and a smooth texture that dogs adore.
- 1 cup plain Greek yogurt (unsweetened): Provides creaminess plus probiotics to support your dog’s digestion.
- 1/2 cup natural peanut butter (xylitol-free): A rich source of protein and healthy fats that bring irresistible flavor.
- 1/4 cup water or unsalted chicken broth: Used to adjust consistency and add a savory note if you prefer.
- 1 tablespoon honey (optional): A touch of extra natural sweetness, perfect if your pup has a sweeter tooth.
- 1/4 cup finely chopped dog-safe treats or crumbled dog biscuits (optional): Adds a fun crunch and burst of extra flavor.
How to Make DIY Doggy Ice Cream Recipe
Step 1: Blend the Base Ingredients
Start by tossing the ripe bananas, Greek yogurt, peanut butter, and your choice of water or chicken broth into a blender or food processor. Blend everything until it reaches a silky smooth and creamy consistency. This is the base that your dog will absolutely love, and blending ensures every bite is perfectly textured.
Step 2: Sweeten It Up (If You Like)
Give the mixture a quick taste — if you think your furry friend might appreciate a little added sweetness, stir in a tablespoon of honey. Remember, this step is optional, but it can make the ice cream extra delightful for dogs with a sweet tooth.
Step 3: Add a Little Crunch
If you want to elevate the experience to something extra special, gently fold in some finely chopped dog-safe treats or crumbled biscuits. This little surprise inside the frozen bites adds a satisfying texture variety that many pups can’t resist.
Step 4: Portion and Freeze
Pour the creamy mixture into silicone molds, muffin tins, ice cube trays, or small paper cups. Place them in the freezer for at least four hours, or until completely solid. Once frozen, pop the little treats out and get ready to see your pup’s happy dance.
How to Serve DIY Doggy Ice Cream Recipe
Garnishes
Sprinkle a small pinch of finely crushed dog biscuits or a few tiny berries on top right before serving. This adds a fun pop of color and an enticing aroma that makes the experience even more special for your pup.
Side Dishes
While this frozen treat is perfect as a solo snack, pairing it with crunchy carrot sticks or apple slices (always dog-safe portions) can create a balanced mini snack plate full of varied textures and flavors.
Creative Ways to Present
Try serving the ice cream in an empty Kong toy or stuffed inside hollow rubber balls to combine treat time with playtime. You can also layer the mix with mashed sweet potato in a clear container for a personalized pup parfait that looks as cute as it tastes.
Make Ahead and Storage
Storing Leftovers
If your pup can’t finish all the treats at once, no worries — keep the leftover frozen cubes in an airtight container or a zip-top freezer bag in the freezer. This will maintain their freshness and keep them ready for your dog’s next craving.
Freezing
The DIY Doggy Ice Cream Recipe freezes beautifully. Just make sure to use silicone molds or sturdy trays to avoid spills and allow easy removal. When frozen solid, these treats will last up to two months without losing that creamy, delicious texture your pooch will love.
Reheating
Since this is an ice cream-style treat, reheating isn’t necessary or recommended. However, if your pup struggles with the frozen hardness, you can let the ice cream sit at room temperature for a few minutes to soften slightly before serving.
FAQs
Is peanut butter safe for all dogs in this recipe?
Yes, as long as you use natural peanut butter that does not contain xylitol, which is toxic to dogs. Always double-check labels before including it in your DIY Doggy Ice Cream Recipe.
Can I use flavored yogurt instead of plain Greek yogurt?
It’s best to stick with plain, unsweetened Greek yogurt. Flavored yogurts often contain sugars or artificial sweeteners that aren’t safe for dogs and could upset their stomach.
What if my dog is allergic to peanut butter?
No problem! You can substitute the peanut butter with sunflower seed butter or pumpkin puree as safe alternatives that still bring creaminess and flavor.
Can I add fruits or vegetables to this ice cream?
Absolutely! Dog-safe fruits like blueberries or shredded carrots can be mixed in or used as toppings to add variety and nutrition to your frozen treat.
How much ice cream is appropriate for my dog to eat?
Portion sizes depend on your dog’s size. Start with one small cube for small breeds and two or more for larger dogs. Always observe how your dog reacts, especially if it’s their first time trying the DIY Doggy Ice Cream Recipe.
Final Thoughts
This DIY Doggy Ice Cream Recipe is a heartwarming way to show your dog a little extra love with every spoonful. Simple ingredients, no fancy equipment, and whole lot of tail-wagging happiness come together in this cool treat. Give it a try — your pup will thank you with licks, cuddles, and that sparkling joy only a homemade surprise can bring.
Print
DIY Doggy Ice Cream Recipe
- Prep Time: 10 minutes
- Cook Time: 0 minutes
- Total Time: 4 hours 10 minutes
- Yield: 12 small servings
- Category: Pet Treats
- Method: No-Cook
- Cuisine: Dog-Friendly
- Diet: Gluten Free
Description
This DIY Doggy Ice Cream recipe is a healthy, homemade frozen treat perfect for cooling down your furry friend on hot days. Made with dog-safe ingredients like bananas, plain Greek yogurt, and natural peanut butter, it’s a nutritious and delicious snack that your pup will love. Easy to prepare and customizable with optional treats or honey, this frozen delight supports your pet’s wellbeing while providing a refreshing reward.
Ingredients
Base Ingredients
- 2 ripe bananas
- 1 cup plain Greek yogurt (unsweetened)
- 1/2 cup natural peanut butter (xylitol-free)
- 1/4 cup water or unsalted chicken broth
Optional Add-ins
- 1 tablespoon honey (optional)
- 1/4 cup finely chopped dog-safe treats or crumbled dog biscuits (optional)
Instructions
- Combine Ingredients: In a blender or food processor, combine the ripe bananas, plain Greek yogurt, natural peanut butter, and water or unsalted chicken broth. Blend these ingredients thoroughly until the mixture is smooth and creamy, ensuring an easy-to-freeze and tasty base for the doggy ice cream.
- Adjust Sweetness and Add Treats: Taste the blended mixture. If desired, add a tablespoon of honey for a subtle extra sweetness suitable for dogs. Carefully stir in the finely chopped dog-safe treats or crumbled dog biscuits to add texture and flavor to the frozen treat.
- Pour and Freeze: Pour the prepared mixture into silicone molds, ice cube trays, or small paper cups to portion. Place them in the freezer and allow to set for at least 4 hours, or until fully frozen solid.
- Serve: Once frozen, pop the doggy ice cream out of the molds. Serve one portion based on your dog’s size—a single cube for small dogs and two for larger breeds—as a refreshing and healthy treat.
Notes
- Always use xylitol-free peanut butter; xylitol is toxic to dogs and must be avoided.
- Store frozen treats in an airtight container in the freezer for up to 2 months to maintain freshness.
- Adjust portion sizes depending on your dog’s size and dietary needs. Start with one cube for small dogs and increase for larger pets.
