
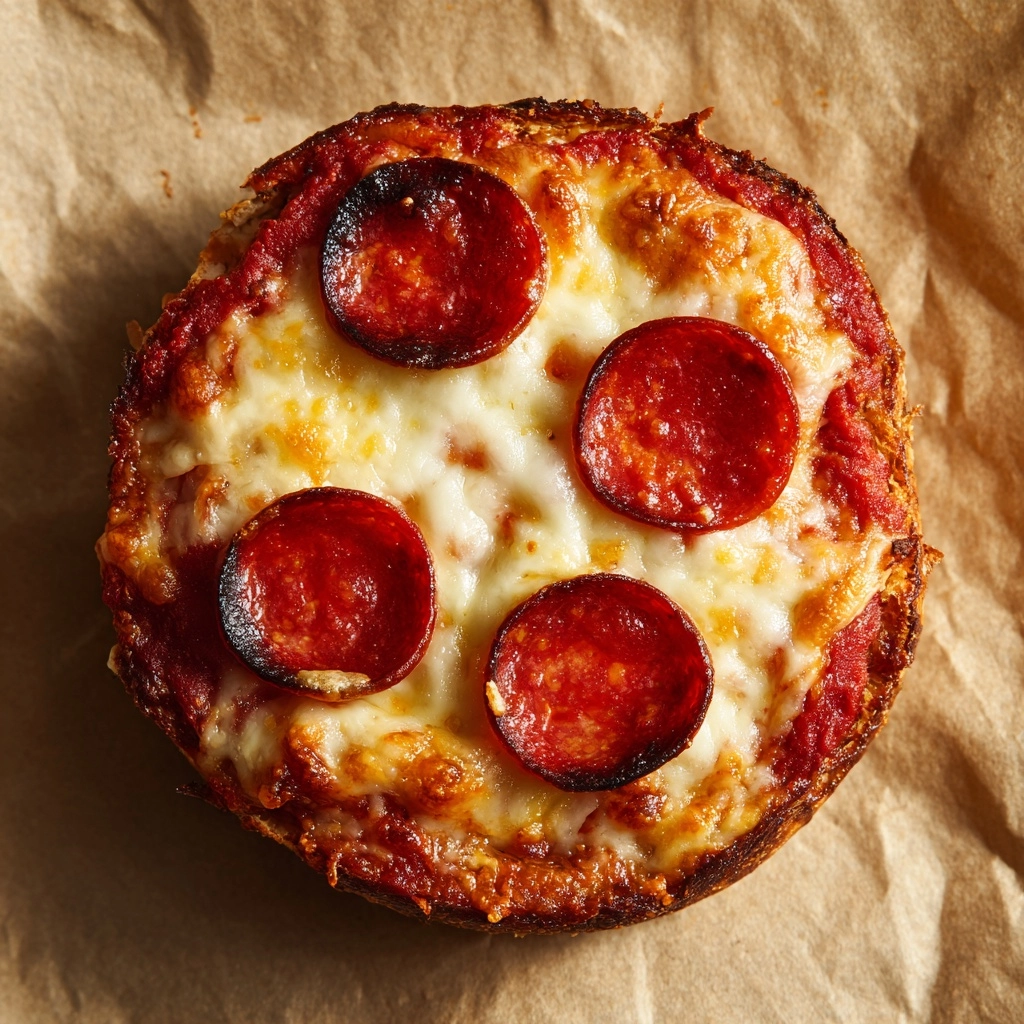
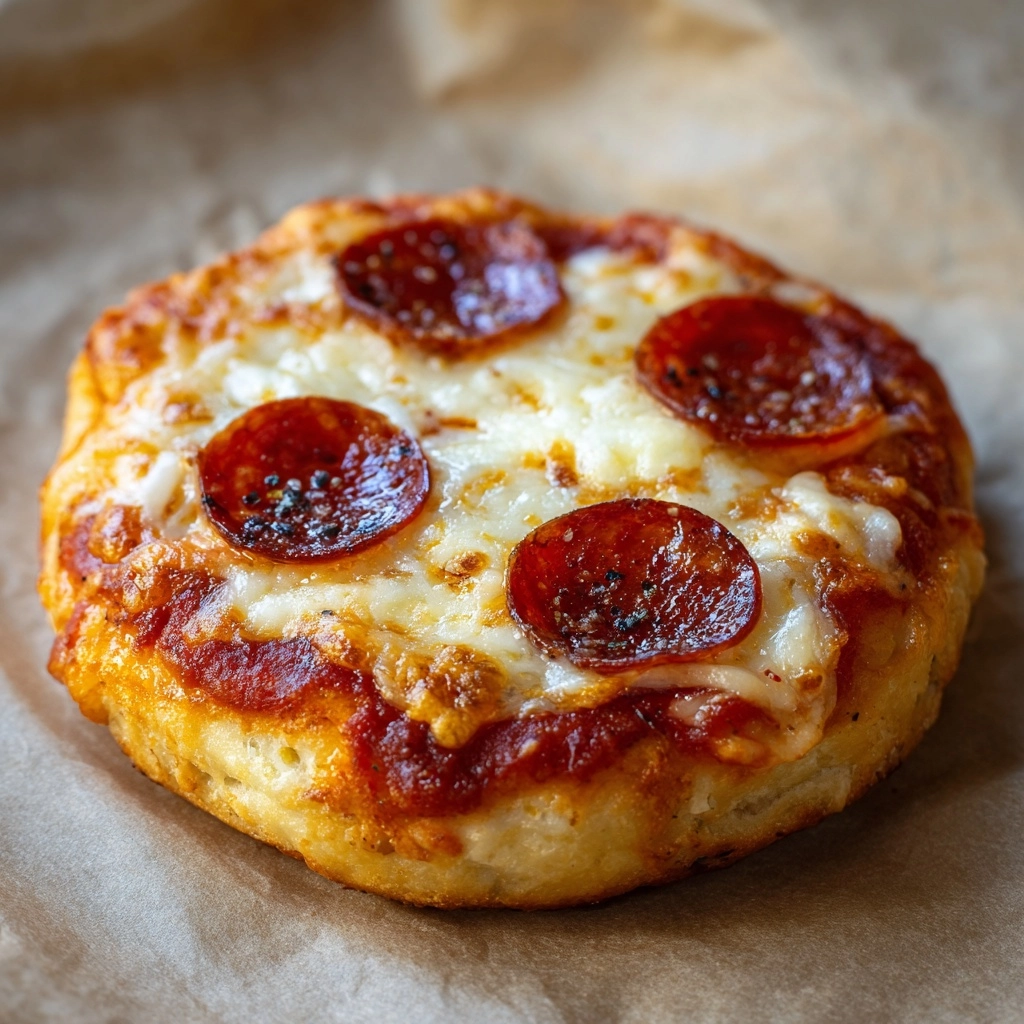
If you’ve been hunting for an easy, crowd-pleasing recipe that’s perfect for lunchboxes or snack time, the Mini Lunchbox Pizzas Recipe is about to become your new best friend. These adorable little pizzas are bursting with gooey mozzarella, zesty pizza sauce, and just the right amount of pepperoni, all nestled in pillowy biscuit or crescent dough. They bake up quickly and pack a punch of cheesy, savory goodness in every bite. Whether you’re packing lunch for the kids, need a speedy after-school snack, or just want a fun finger food for gatherings, this recipe fits the bill perfectly.
Ingredients You’ll Need
Simply put, the ingredients for this Mini Lunchbox Pizzas Recipe are straightforward but essential to get that crave-worthy combination of flavor, texture, and color. Each one brings something special to the table, whether it’s the soft, buttery dough or the melty, golden cheese topping.
- Crescent roll or biscuit dough: Use refrigerated dough for convenience and a soft, tender crust that bakes perfectly in mini muffin tins.
- Pizza sauce: A small amount adds a burst of tangy tomato flavor, keeping every bite lively and saucy.
- Shredded mozzarella cheese: The star ingredient that creates that classic, stretchy pizza vibe.
- Mini pepperoni or diced regular pepperoni: Adds a salty, spicy pop that makes each bite satisfying and bold.
- Italian seasoning: A little sprinkle gives just the right herbaceous kick and aroma to deepen the flavor.
- Olive oil spray or melted butter (optional): Brushing the dough helps create a golden, shiny crust with added richness.
- Extra toppings like diced bell peppers, olives, or mushrooms (optional): Customize your mini pizzas with veggies or favorites, adding color and texture as you like.
How to Make Mini Lunchbox Pizzas Recipe
Step 1: Prepare the Dough Cups
Start by preheating your oven to 375°F and lightly greasing a mini muffin tin. Unroll your refrigerated crescent or biscuit dough and cut it into 12 equal pieces. Press each piece gently into the mini muffin cups, pushing the dough up the sides to create a little crust bowl. This forms the perfect base to hold all your toppings and sauce without spilling.
Step 2: Add the Sauce and Toppings
Spoon about a teaspoon of pizza sauce into each dough cup, making sure not to overfill to keep the crust crispy. Sprinkle mozzarella cheese generously on top, then add your mini pepperoni or diced pepperoni. Feel free to throw in your favorite extra toppings if you want a veggie boost or variety. Finish with a light dusting of Italian seasoning to give it that classic pizzeria flavor.
Step 3: Bake Until Golden
Pop the muffin tin into the oven for 10 to 12 minutes. Watch for the dough to turn golden brown and the cheese to bubble up with melted deliciousness. This step is where those mini pizzas become irresistible little works of art. Let them cool for 5 minutes before carefully removing them from the tin – they’ll still be warm, gooey, and ready to devour!
How to Serve Mini Lunchbox Pizzas Recipe
Garnishes
For an extra touch, sprinkle freshly chopped basil, a pinch of red pepper flakes, or a drizzle of olive oil right before serving. These small garnishes elevate the flavors and add a little gourmet flair, making your Mini Lunchbox Pizzas Recipe feel special and fresh.
Side Dishes
These mini pizzas pair wonderfully with simple sides like a crisp garden salad, baby carrot sticks with ranch dip, or even a side of fruit salad to keep things balanced. This creates a colorful, well-rounded meal that’s still kid-friendly and easy to enjoy on-the-go.
Creative Ways to Present
Try serving your mini pizzas on a fun platter with compartments for dipping sauces like ranch, garlic butter, or extra marinara. Another playful idea is to skewer a couple together using toothpicks for a pizza kabob treat that’s fun to eat and perfect for parties or lunchboxes.
Make Ahead and Storage
Storing Leftovers
If you have any leftovers, store them in an airtight container in the refrigerator for up to 3 days. They keep their flavor remarkably well and are perfect for a quick snack or lunch the next day.
Freezing
You can freeze these mini pizzas for up to one month. Just let them cool completely, then place them on a baking sheet lined with parchment paper and flash freeze before transferring to a freezer-safe bag. This way, they won’t stick together and you can thaw individual portions as needed.
Reheating
Reheat your mini pizzas in a 350°F oven for 8 to 10 minutes until warmed through to keep the crust crisp and cheese melty. Microwaving works in a pinch but may make the crust a bit soft, so oven reheating is the best way to maintain that fresh-baked texture.
FAQs
Can I use gluten-free dough for this recipe?
Absolutely! If you prefer gluten-free options, many stores carry gluten-free biscuit or crescent dough varieties that work well in this Mini Lunchbox Pizzas Recipe. Just keep an eye on baking times since they may cook slightly faster or slower.
Are these mini pizzas kid-friendly?
Definitely! These bite-sized pizzas are perfectly portioned for little hands and use simple, familiar ingredients kids love. Customize toppings to suit their tastes, and they’ll be asking for seconds in no time.
Can I make these without pepperoni?
Yes! Feel free to omit the pepperoni or swap it out for other favorite toppings like diced ham, cooked sausage, or just extra veggies. The recipe is very adaptable to whatever your family enjoys.
Is it okay to double the recipe?
Of course. Just use multiple muffin tins or bake in batches. These mini pizzas are great for feeding larger groups or prepping a week’s worth of lunches ahead of time.
What’s the best way to reheat frozen mini pizzas?
For best results, thaw the frozen mini pizzas overnight in the fridge, then warm them in the oven at 350°F for 8 to 10 minutes. This method keeps the crust crispy and melty cheese intact.
Final Thoughts
There’s something so satisfying about making and sharing these Mini Lunchbox Pizzas Recipe, whether you’re packing a midday meal or whipping up an easy snack. They’re quick to put together, customizable, and always a hit with family and friends. Give this recipe a try and watch how these tiny, tasty pizzas become a new favorite in your kitchen!
Print
Mini Lunchbox Pizzas Recipe
- Prep Time: 10 minutes
- Cook Time: 12 minutes
- Total Time: 22 minutes
- Yield: 12 mini pizzas
- Category: Lunch
- Method: Baking
- Cuisine: American
- Diet: Kid-Friendly
Description
These Mini Lunchbox Pizzas are a perfect kid-friendly snack or lunchbox treat, featuring a crispy crescent roll crust topped with classic pizza sauce, melty mozzarella cheese, and pepperoni. Easy to make in a mini muffin tin, they bake quickly to golden perfection and can be customized with extra toppings like bell peppers or mushrooms.
Ingredients
Dough
- 1 can (8 ounces) refrigerated crescent roll dough or biscuit dough
Toppings
- 1/2 cup pizza sauce
- 3/4 cup shredded mozzarella cheese
- 1/4 cup mini pepperoni or diced regular pepperoni
- 1/4 teaspoon Italian seasoning
- Extra toppings (optional): diced bell peppers, olives, or mushrooms
Others
- Olive oil spray or melted butter for brushing (optional)
Instructions
- Prepare the Oven and Muffin Tin: Preheat your oven to 375°F (190°C) and lightly grease a mini muffin tin to prevent sticking.
- Shape the Dough: Unroll the crescent or biscuit dough and cut it into 12 equal pieces. Press each piece firmly into a muffin cup, pushing the dough up the sides to form a small crust bowl.
- Add Sauce and Toppings: Spoon about 1 teaspoon of pizza sauce into each dough cup. Top with a sprinkle of shredded mozzarella cheese and add a few pieces of mini pepperoni or your choice of extra toppings. Finally, sprinkle each with Italian seasoning for flavor.
- Bake: Place the muffin tin in the preheated oven and bake for 10 to 12 minutes, or until the dough is golden brown and cheese is melted and bubbly.
- Cool and Serve: Allow the mini pizzas to cool in the muffin tin for 5 minutes before carefully removing. Serve warm or let cool completely before packing in lunchboxes for storage or later enjoyment.
Notes
- These mini pizzas can be made ahead and stored in the refrigerator for up to 3 days or frozen for up to one month.
- Reheat before serving by warming in the oven or microwave to retain crispiness and melted cheese.
- Customize with a variety of toppings such as diced bell peppers, olives, mushrooms, or onions to suit your taste preferences.


