
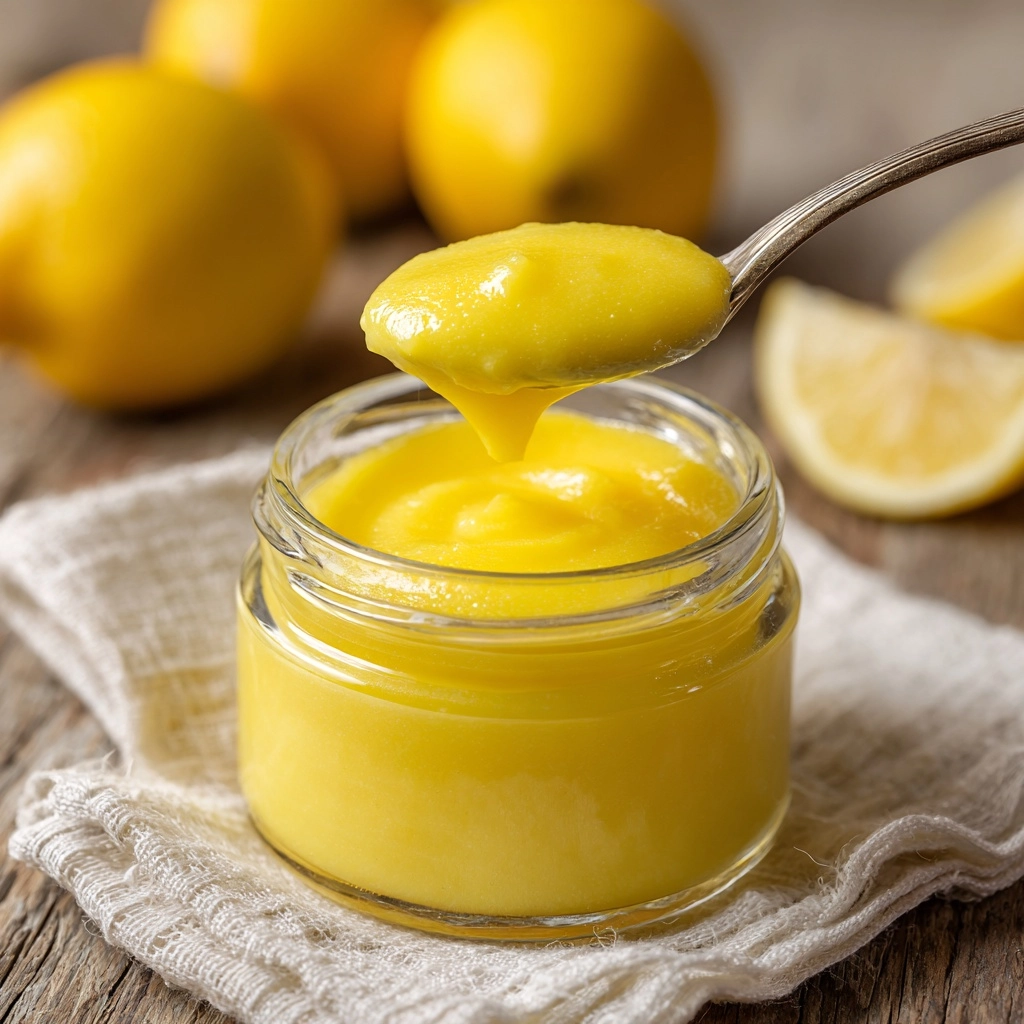
If you crave a burst of bright citrus flavor that’s silky, sweet, and utterly irresistible, Homemade Lemon Curd is your new secret weapon. This luscious spread strikes that perfect balance of tart and sweet, with a richness that comes from eggs and real butter. It’s the sort of treat that instantly elevates anything it touches: toast, yogurt, cakes, you name it. Plus, when you make it yourself, every spoonful feels twice as special. A few simple ingredients and twenty minutes are all it takes to fill your fridge with a jar of sunshine!
Ingredients You’ll Need
The beauty of Homemade Lemon Curd is in its simplicity. Each ingredient is a star player, working together to give you that signature bright yellow color, creamy texture, and sweet-tart flavor explosion. Let’s break it down:
- Egg Yolks: Give the curd its rich color and add luscious thickness to the spread.
- Whole Eggs: Help stabilize the mixture and create a silky, custard-like consistency.
- Granulated Sugar: Balances the tartness of the lemons and lends just the right amount of sweetness.
- Fresh Lemon Juice: The main source of zingy, bright flavor—fresh-squeezed makes all the difference.
- Lemon Zest: Intensifies that bold lemony fragrance and color for next-level citrus punch.
- Unsalted Butter: Adds creaminess, shine, and rounds out the flavors with a subtle richness.
How to Make Homemade Lemon Curd
Step 1: Combine Eggs and Sugar
In a medium saucepan, whisk together the egg yolks, whole eggs, and sugar until the mixture is smooth and glossy. This step ensures the sugar starts dissolving and everything is well-blended, making your Homemade Lemon Curd extra velvety later on.
Step 2: Add the Lemon
Once the eggs and sugar are combined, stir in the fresh lemon juice and that fragrant lemon zest. It will look a little curdled or lumpy, but don’t worry—that’s completely normal at this stage. The magic happens as it gently heats up!
Step 3: Cook and Thicken
Place your saucepan over medium-low heat. Stir constantly with a rubber spatula or wooden spoon, making sure you’re scraping the bottom and sides of the pan. The key is patience: keep the mixture moving so it cooks evenly and doesn’t scramble. In about 8 to 10 minutes, it will thicken enough to coat the back of your spoon.
Step 4: Melt in the Butter
Take the pan off the heat and add the cubes of unsalted butter. Stir until each piece is melted and the curd turns glossy and smooth. The butter brings everything together and lends a luxurious sheen.
Step 5: Strain for Smoothness
For truly silky Homemade Lemon Curd, pour it through a fine mesh sieve into a bowl. This removes any bits of cooked egg or stray zest, guaranteeing a perfectly smooth finish.
Step 6: Cool and Refrigerate
Let your lemon curd cool for a bit, then transfer it into a clean jar or airtight container. Pop it in the refrigerator and chill until it’s thickened and gorgeously spreadable. Now comes the hard part—waiting to dig in!
How to Serve Homemade Lemon Curd

Garnishes
A swirl of Homemade Lemon Curd is gorgeous just as it is, but you can dress it up with a light dusting of powdered sugar, a sprinkle of extra lemon zest, or even a few edible flowers for a stunning touch on cakes or tarts.
Side Dishes
Pair your lemon curd with buttery scones, toasted brioche, crepes, or plain Greek yogurt. A tablespoon or two turns breakfast or brunch into a celebration. Feeling fancy? Use it as a tangy layer for cakes or pavlovas.
Creative Ways to Present
Fill tiny tartlets or sandwich between soft cookies for an elegant dessert bite. Swirl it into cheesecake or ripple through vanilla ice cream. Homemade Lemon Curd also makes a fabulous gift—just fill a small jar, tie with a ribbon, and share a little brightness!
Make Ahead and Storage
Storing Leftovers
Homemade Lemon Curd keeps beautifully! Store it in an airtight container or glass jar in your refrigerator. It will stay fresh for up to two weeks, making it perfect for spooning onto everything from toast to desserts at a moment’s notice.
Freezing
If you’d like to make a big batch, Homemade Lemon Curd can be frozen. Just be sure it’s completely cooled, then transfer to a freezer-safe container with a bit of headspace. It will keep in the freezer up to three months. Thaw overnight in the fridge before using.
Reheating
If your lemon curd is a little too thick from the fridge, just set the jar in a bowl of warm water and stir until it loosens up. Avoid microwaving, which can cause it to separate.
FAQs
Why did my lemon curd turn out runny?
If your curd isn’t thickening, it may need more time to cook. Gently heat the mixture a bit longer while stirring constantly, or whisk in a yolk and cook again. As it cools, it will set up more in the fridge, too.
Can I use bottled lemon juice for Homemade Lemon Curd?
Fresh lemon juice provides the brightest, most vibrant flavor and is recommended. Bottled juice lacks the zing and may give your curd a duller taste, so stick with fresh-squeezed whenever possible.
Is it necessary to strain the curd?
Straining is optional but highly recommended if you want the smoothest final texture. It removes tiny bits of zest and any accidental scrambled egg, leaving you with restaurant-quality Homemade Lemon Curd.
Can I double the recipe?
Absolutely! Just use a larger saucepan and be sure to stir diligently to avoid uneven cooking. Split batches if needed for easier handling and straining.
How do I know when the curd is done?
The curd is ready when it thickens enough to coat the back of a spoon. Drag your finger across the spoon; if it leaves a clean line, you’re done! It will continue to thicken as it chills.
Final Thoughts
There’s nothing quite like the satisfying zing and delicate creaminess of Homemade Lemon Curd. Whether you’re spreading it on warm scones or swirling it into desserts, this cheerful treat has a way of brightening any day. Treat yourself—and your loved ones—to a batch soon. You’ll never look at lemons the same way again!
Print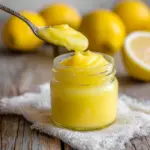
Homemade Lemon Curd Recipe
- Prep Time: 10 minutes
- Cook Time: 10 minutes
- Total Time: 20 minutes
- Yield: About 1 1/2 cups
- Category: Condiment
- Method: Stovetop
- Cuisine: American
- Diet: Vegetarian
Description
Learn how to make a delicious Homemade Lemon Curd that’s perfect for spreading on scones, filling tarts, or topping desserts. This tangy and sweet citrus spread is easy to prepare and bursting with fresh lemon flavor.
Ingredients
For the Lemon Curd:
- 4 large egg yolks
- 2 large eggs
- 1 cup granulated sugar
- 2/3 cup fresh lemon juice (from about 4 lemons)
- 1 tablespoon lemon zest
- 6 tablespoons unsalted butter (cut into small cubes)
Instructions
- In a medium saucepan, whisk together the egg yolks, whole eggs, and sugar until smooth.
- Place the saucepan over medium-low heat and cook, stirring constantly with a rubber spatula or wooden spoon, scraping the bottom and sides of the pan.
- Remove from heat and immediately add the butter, stirring until melted and smooth.
- Let cool slightly, then transfer to a jar or airtight container.
Stir in the lemon juice and lemon zest.
Continue cooking until the mixture thickens enough to coat the back of a spoon, about 8 to 10 minutes.
Strain the curd through a fine mesh sieve into a bowl to remove any bits of cooked egg or zest, if desired.
Refrigerate until fully chilled.
Notes
- For a smoother texture, always strain the curd after cooking.
- Use organic lemons for the best flavor, and make sure to zest before juicing.
- Lemon curd will keep in the refrigerator for up to 2 weeks.
Nutrition
- Serving Size: 2 tablespoons
- Calories: 120
- Sugar: 14g
- Sodium: 10mg
- Fat: 6g
- Saturated Fat: 3.5g
- Unsaturated Fat: 2g
- Trans Fat: 0g
- Carbohydrates: 15g
- Fiber: 0g
- Protein: 1g
- Cholesterol: 75mg


