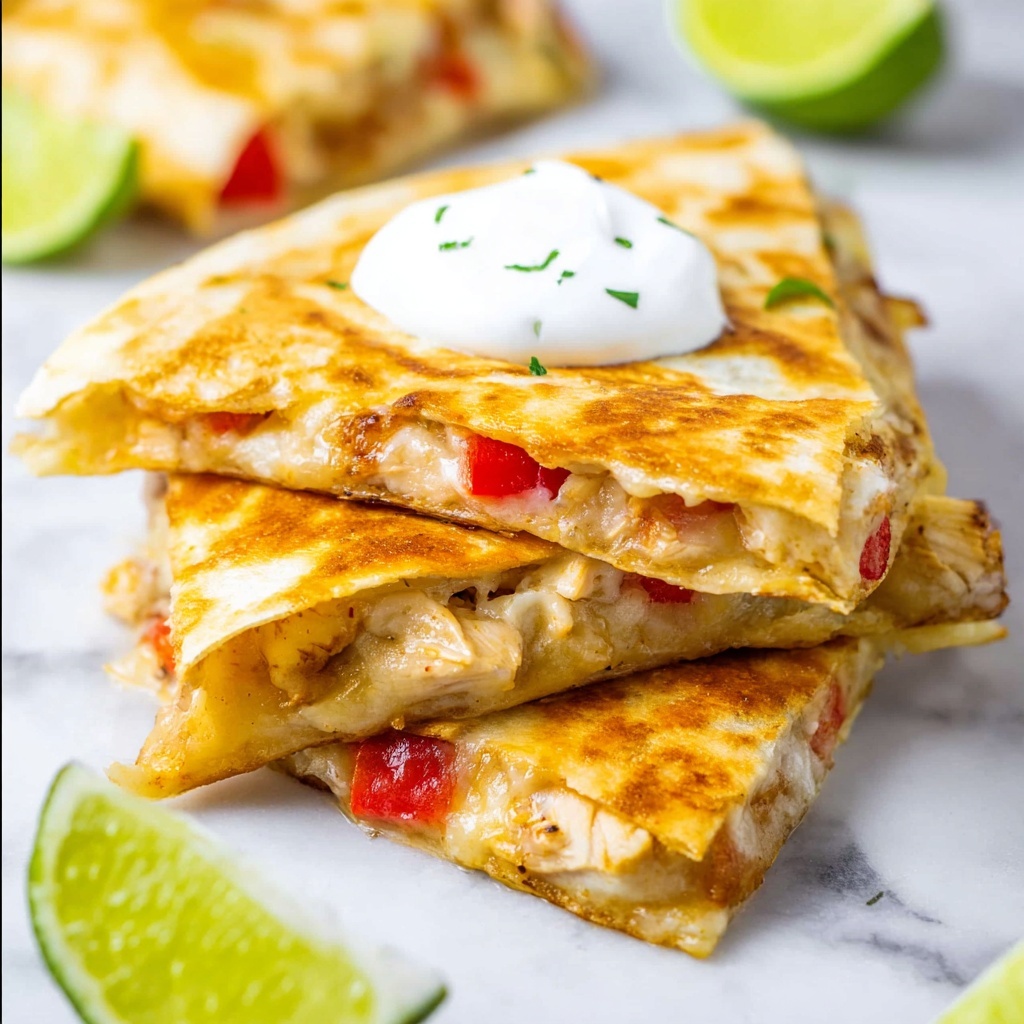
If you’re craving a dish that’s crispy, cheesy, and bursting with bold flavors, this Chicken Quesadillas Recipe is about to become your new go-to comfort food. It combines juicy, perfectly seasoned chicken with melty Mexican cheese and vibrant veggies all wrapped inside a golden, buttery tortilla. Each bite delivers a wonderful contrast of textures and tastes that’s as satisfying as it is simple to make. Whether you’re whipping up a quick weeknight dinner or hosting friends for a casual get-together, this Chicken Quesadillas Recipe hits all the right notes and is guaranteed to bring smiles to the table.
Ingredients You’ll Need
The magic behind this Chicken Quesadillas Recipe comes from a handful of straightforward ingredients that come together beautifully. Each one plays an important role, from adding flavor to texture and color, making every bite memorable.
- Olive oil: Essential for cooking the chicken to juicy perfection while adding subtle richness.
- Boneless, skinless chicken breasts: The hearty protein base that soaks up the delicious seasonings.
- Onion: Adds sweetness and depth as it softens in the pan.
- Bell pepper: Provides a pop of color and a gentle crunch to balance the creamy cheese.
- Garlic: Brings a fragrant punch that wakes up every other ingredient.
- Taco seasoning: Packs in the signature southwestern flavors with a perfect spice blend.
- Taco sauce: Adds tangy moisture that keeps the filling juicy and inviting.
- Unsalted butter: Used for a beautifully golden, crispy tortilla exterior.
- Large flour tortillas: The warm, soft wrap that holds all the delicious filling inside.
- Shredded Mexican cheese blend: The gooey, melty star that pulls every element together.
- Sour cream, salsa, guacamole, jalapeño peppers, fresh cilantro: Perfect topping options for customizing each quesadilla to your taste.
How to Make Chicken Quesadillas Recipe
Step 1: Sear the Chicken
Start by heating olive oil in a skillet over medium heat. Toss in the chicken pieces and cook until they lose their pinkness on the surface but are not fully done. This step helps lock in moisture and builds a flavorful base for your filling.
Step 2: Cook the Veggies with Chicken
Add diced onion and bell pepper to the pan, stirring as they soften and the chicken finishes cooking. The sweet, tender vegetables pair wonderfully with the savory meat, creating a balanced and colorful filling.
Step 3: Season and Sauce It Up
Mix in minced garlic, taco seasoning, and taco sauce. Let everything cook for another couple of minutes until the aroma fills your kitchen. This final flavor boost is what really defines the character of this Chicken Quesadillas Recipe.
Step 4: Prepare Your Skillet for Grilling
Wipe out the skillet or set a clean skillet over medium heat. Add one tablespoon of unsalted butter and allow it to melt evenly, which will help achieve that irresistible golden crust on the tortillas.
Step 5: Assemble the Quesadilla
Sprinkle a generous handful of shredded cheese over half of the tortilla. Spoon a quarter of the chicken and vegetable mixture on top of that cheese layer, followed by another handful of cheese. Fold the tortilla in half to seal the filling inside.
Step 6: Cook Until Golden and Melty
Place your folded quesadilla in the skillet and cook for 2 to 3 minutes, or until the bottom achieves a rich golden-brown hue. Flip carefully and cook for another 2 to 3 minutes, ensuring the cheese melts perfectly while the tortilla crisps up beautifully.
Step 7: Repeat and Serve
Repeat the assembly and cooking process for the remaining tortillas and chicken filling. Once all quesadillas are done, serve immediately with your choice of sour cream, salsa, guacamole, or other favorite toppings.
How to Serve Chicken Quesadillas Recipe

Garnishes
Top these quesadillas with a dollop of cool sour cream or guacamole to balance the warm, spicy filling. Fresh cilantro adds a burst of herbal brightness, while sliced jalapeño peppers bring that extra kick if you love some heat.
Side Dishes
Pair your Chicken Quesadillas Recipe with simple sides like a crisp green salad or Spanish rice to round out the meal. A bowl of black beans or a fresh corn salsa also makes terrific companions for a well-rounded, satisfying dinner.
Creative Ways to Present
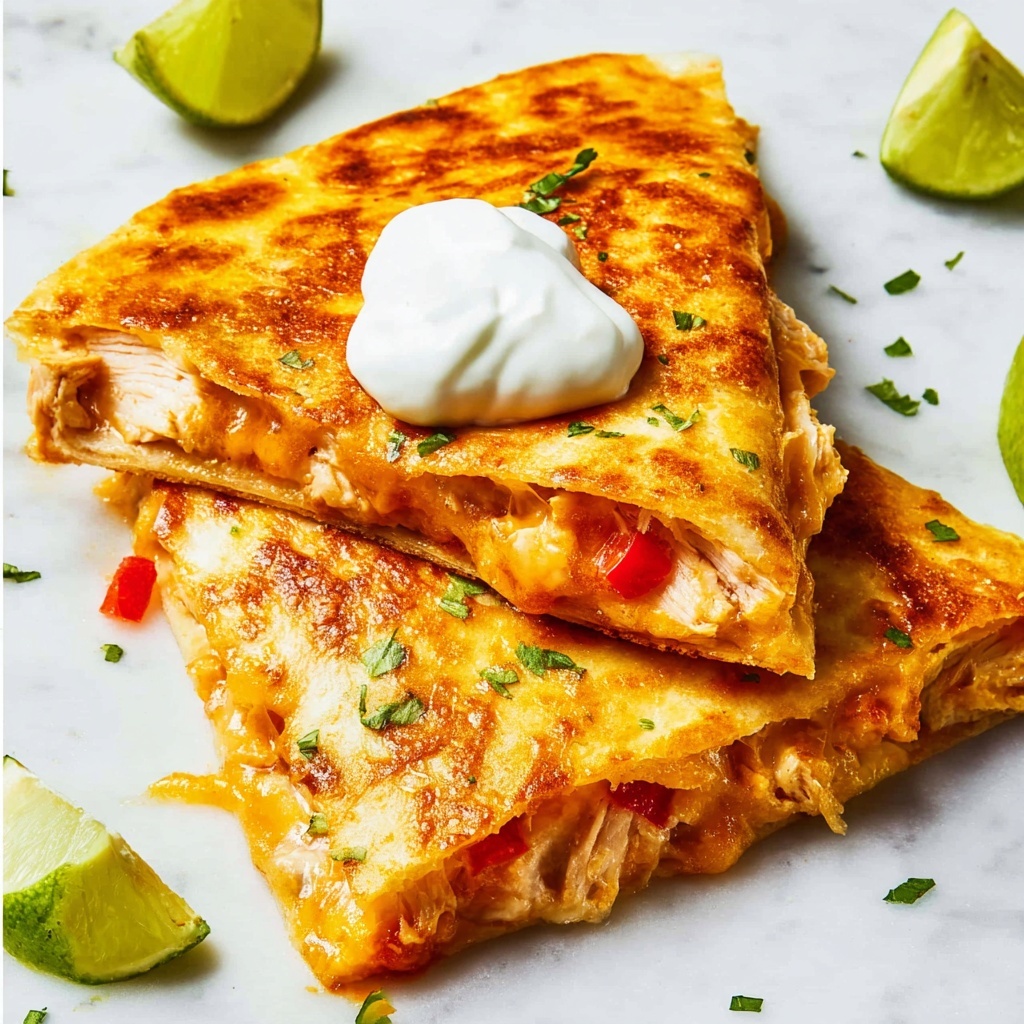
Cut your quesadillas into wedges and arrange them on a large platter with small bowls of salsa, sour cream, and guacamole around them for a festive, shareable presentation. For a fun twist, sprinkle chopped green onions or a squeeze of lime just before serving.
Make Ahead and Storage
Storing Leftovers
Leftover quesadillas store nicely in an airtight container in the refrigerator for up to 3 days. To keep them crispy, separate the wedges with parchment paper so they don’t stick together.
Freezing
You can freeze cooked quesadillas individually wrapped in plastic wrap and then placed in a freezer bag. They’ll keep well for up to 2 months, making them an excellent option for easy future meals.
Reheating
For the best texture, reheat your quesadillas in a skillet over medium heat rather than the microwave. This method revives that crispy tortilla and melts the cheese beautifully once again.
FAQs
Can I use rotisserie chicken instead of cooking it from scratch?
Absolutely! Using rotisserie chicken is a fantastic shortcut that saves time without sacrificing flavor. Just shred the chicken and mix it with the sautéed veggies, taco seasoning, and sauce as directed.
What kind of cheese works best in this Chicken Quesadillas Recipe?
A Mexican cheese blend is ideal because it melts smoothly and has a nice balance of mild and sharp flavors. Cheddar and Monterey Jack are common choices, but feel free to experiment with your favorites.
Can I make these quesadillas gluten-free?
Yes! Simply swap the flour tortillas for gluten-free tortillas available at most grocery stores. The cooking process and flavors stay just as delicious.
Is this recipe spicy?
The level of spice depends on your taco seasoning and additional toppings like jalapeños. You can adjust the seasoning amounts or omit spicy garnishes to suit your palate.
Can I add other fillings to the quesadillas?
Of course! Feel free to customize your Chicken Quesadillas Recipe by adding black beans, corn, or even a handful of fresh spinach for extra nutrition and flavor.
Final Thoughts
This Chicken Quesadillas Recipe is a delightful blend of simplicity and bold flavors that will quickly become a staple in your kitchen. Easy to make, totally satisfying, and endlessly versatile, it’s a dish that brings warmth and joy with every bite. Dive in, experiment with your favorite toppings, and share the love over a plate full of melty, crispy goodness.
Print
Chicken Quesadillas Recipe
- Prep Time: 10 minutes
- Cook Time: 20 minutes
- Total Time: 30 minutes
- Yield: 4 quesadillas
- Category: Main Course
- Method: Frying
- Cuisine: Mexican
Description
This Chicken Quesadillas recipe features tender, seasoned chicken combined with sautéed onions and bell peppers, all melted together with a flavorful Mexican cheese blend inside crispy flour tortillas. Served with classic accompaniments like sour cream, salsa, guacamole, jalapeños, and fresh cilantro, these quesadillas make for a satisfying and delicious meal perfect for lunch or dinner.
Ingredients
For the Chicken Filling
- 1 tablespoon olive oil
- 1 pound boneless, skinless chicken breasts, cut into ¾-inch pieces (about 2 breasts)
- ½ onion, diced
- 1 bell pepper (any color), diced
- 1 clove garlic, minced
- 1 tablespoon taco seasoning (store-bought or homemade, about ½ packet)
- ¼ cup taco sauce (store-bought or homemade)
For the Quesadillas
- 4 tablespoons unsalted butter, divided
- 4 large flour tortillas
- 2 cups shredded Mexican cheese blend
For Serving
- Sour cream
- Salsa
- Guacamole
- Jalapeño peppers
- Fresh cilantro
Instructions
- Cook the Chicken: Heat the olive oil in a large skillet over medium heat. Add the chicken pieces and cook until the surface is no longer pink, ensuring the chicken is partially cooked through but not fully done.
- Sauté Vegetables: Add the diced onion and bell pepper to the skillet. Continue cooking until the vegetables are softened and the chicken is cooked through completely.
- Add Flavorings: Stir in the minced garlic, taco seasoning, and taco sauce. Cook for an additional 1-2 minutes until the mixture is fragrant. Remove the skillet from heat and set aside.
- Prepare Skillet for Quesadillas: Wipe out the skillet or use a second skillet and heat it over medium heat. Add 1 tablespoon of butter and allow it to melt.
- Assemble Quesadillas: While the butter melts, sprinkle a handful of shredded cheese onto one half of a tortilla. Add ¼ of the chicken mixture on top, then sprinkle another handful of cheese over the filling. Fold the tortilla in half over the filling and place it in the skillet.
- Cook Quesadillas: Cook until the bottom is golden brown, about 2-3 minutes. Carefully flip the quesadilla and cook for another 2-3 minutes until the cheese inside has melted and the second side is golden brown.
- Repeat and Serve: Repeat the assembling and cooking process for the remaining quesadillas, adding butter as needed. Serve hot with sour cream, salsa, guacamole, jalapeño peppers, and fresh cilantro as desired.
Notes
- Use a non-stick or cast-iron skillet for best results when cooking the quesadillas.
- Adjust taco seasoning amount based on your spice preference.
- You can substitute flour tortillas with whole wheat or corn tortillas if preferred.
- For a crispier quesadilla, cook on medium-low heat to allow cheese to melt fully without burning the tortilla.
- Leftover chicken mixture can be refrigerated for up to 3 days or frozen for longer storage.


