
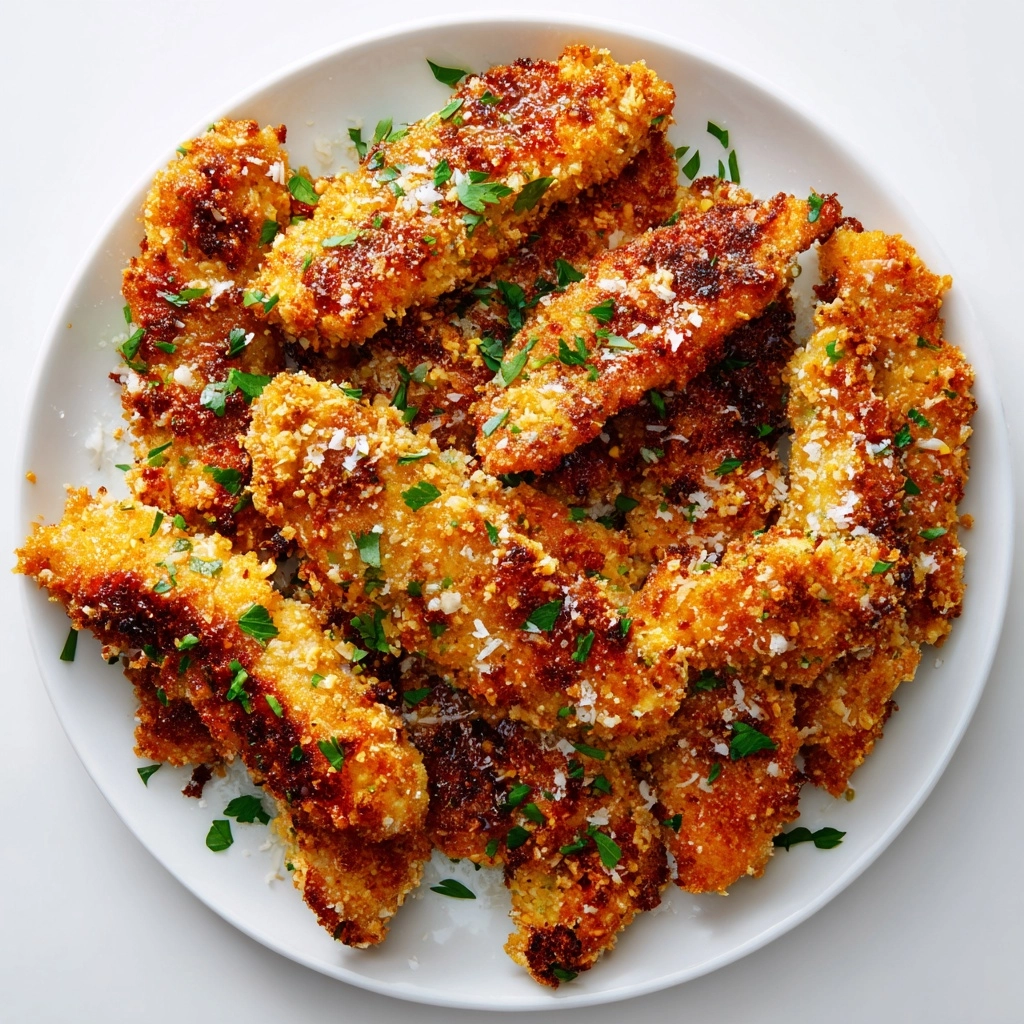
If you are on the hunt for a dish that perfectly balances crispy, cheesy, and garlicky flavors, look no further than this Garlic Parmesan Chicken Tenders Recipe. These tenders come out golden and crunchy on the outside, tender and juicy on the inside, with an irresistible Parmesan crust seasoned with garlic and Italian herbs. Trust me, once you make this recipe, it will quickly become one of your go-to meals for weeknights, casual dinners, or even when craving a crowd-pleasing appetizer. The blend of simple pantry staples creates a flavor bomb that feels special but is surprisingly easy to prepare.
Ingredients You’ll Need
Gathering these straightforward ingredients is all it takes to make your Garlic Parmesan Chicken Tenders Recipe shine. Each item contributes to the texture, flavor, and appeal—from the crispy panko breadcrumbs to the rich Parmesan and tender chicken strips.
- Chicken tenders or boneless chicken breasts (1 1/2 pounds): The star protein that turns crispy and juicy in every bite.
- Panko breadcrumbs (1 cup): Provides a light, crunchy texture that holds the cheesy coating beautifully.
- Grated Parmesan cheese (1/2 cup): Infuses a savory, nutty flavor that’s essential for that signature taste.
- Garlic powder (1 teaspoon): Adds a subtle, aromatic punch without overpowering the dish.
- Italian seasoning (1/2 teaspoon): Brings herby notes that complement both the garlic and Parmesan perfectly.
- Salt (1/2 teaspoon) & black pepper (1/4 teaspoon): Enhances all the other flavors with just the right seasoning.
- Large eggs (2): Acts as the sticky binder to hold the coating on the chicken.
- All-purpose flour (1/4 cup): Helps the egg adhere, creating layers for the perfect crust.
- Olive oil or melted butter (2 tablespoons): Brushed on top for golden color and added richness.
- Chopped fresh parsley (optional): Adds a fresh burst of color and flavor as a garnish.
How to Make Garlic Parmesan Chicken Tenders Recipe
Step 1: Prepare Your Oven and Coating Stations
Start by preheating your oven to a hot 400°F and lining a baking sheet with parchment paper to prevent sticking. In three separate shallow dishes, set up your coating stations: one with flour, the second with beaten eggs, and the third with the seasoned breadcrumb mixture. This assembly line setup makes the breading process quick and efficient.
Step 2: Mix the Breadcrumb Coating
Combine the panko breadcrumbs, grated Parmesan cheese, garlic powder, Italian seasoning, salt, and black pepper in one bowl. This blend is where the magic happens, creating a flavorful crust that bakes crisp while locking in moisture within the chicken tenders.
Step 3: Coat the Chicken Tenders
Take each chicken tender and first dredge it lightly in the all-purpose flour. Shake off excess, then dip the tender into the beaten eggs to moisten. Finally, press the chicken into the breadcrumb mixture, ensuring an even and thorough coating. This triple-layer technique guarantees a crunchy, flavorful crust on every piece.
Step 4: Prepare for Baking
Lay the coated chicken tenders neatly on your prepared baking sheet. For that extra golden finish and subtly rich flavor, gently brush or drizzle the tenders with olive oil or melted butter. This step helps the coating crisp up beautifully during baking.
Step 5: Bake Until Golden and Delicious
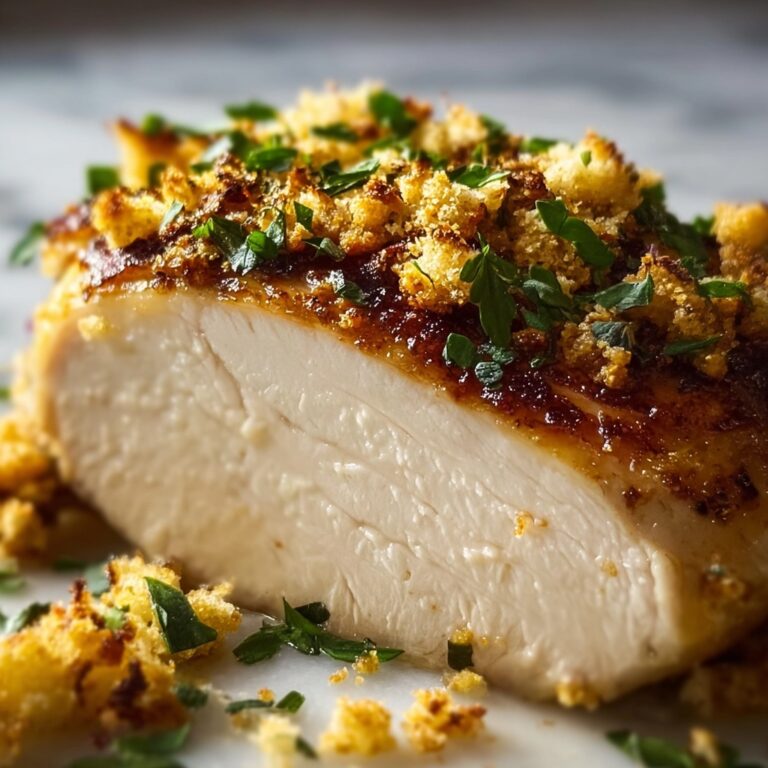
Bake the chicken tenders in the preheated oven for 18 to 20 minutes, flipping them halfway through to ensure even crispiness. When done, the tenders will be golden brown with a delightfully crispy exterior and tender, juicy meat inside. Optionally, for extra crunch, you can broil them for an additional 1 to 2 minutes at the end.
How to Serve Garlic Parmesan Chicken Tenders Recipe

Garnishes
Freshly chopped parsley is a simple yet effective way to brighten the presentation and add a touch of herbal freshness. If you want to double down on the garlicky goodness, a sprinkle of extra Parmesan just before serving seals the deal.
Side Dishes
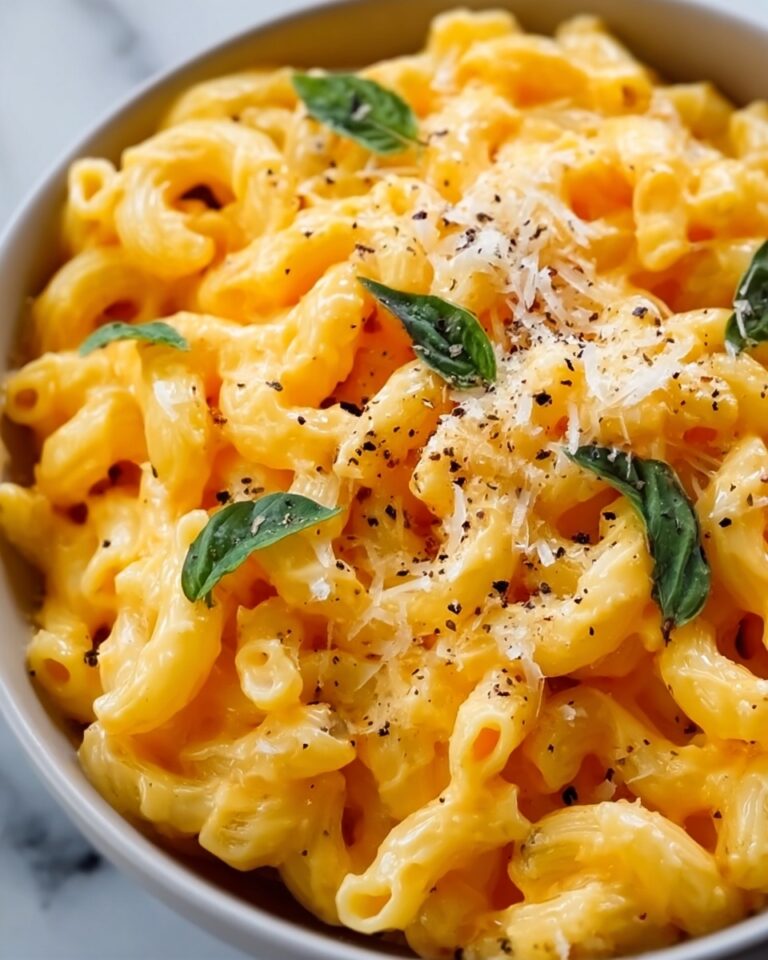
These chicken tenders pair wonderfully with crisp garden salads, roasted vegetables, or creamy mashed potatoes. For a casual twist, serve alongside your favorite dipping sauces such as marinara, ranch dressing, or garlic aioli—each dip enhances the flavor profile uniquely.
Creative Ways to Present
For a fun party platter, arrange the tenders with colorful veggie sticks and multiple dipping bowls for a delightful finger food experience. You can also serve them atop a bed of seasoned rice or even chopped into crisp wraps with fresh greens, perfect for a quick and tasty lunch.
Make Ahead and Storage
Storing Leftovers
If you have leftovers from your Garlic Parmesan Chicken Tenders Recipe, store them in an airtight container in the refrigerator for up to 3 days. Keep the tenders on a paper towel-lined plate to help absorb any excess moisture and maintain crispness.
Freezing
These chicken tenders freeze beautifully either before or after baking. To freeze raw coated tenders, arrange them on a baking sheet to freeze individually before transferring to a sealed freezer bag. Cook from frozen by adding a few extra minutes to the baking time. Cooked tenders also freeze well and can be reheated straight from the freezer.
Reheating
For best results when reheating, pop the tenders in a hot oven at 350°F for 8 to 10 minutes or until warmed through and crispy again. Avoid the microwave if you want to preserve crunchiness, but it can work in a pinch if you’re short on time.
FAQs
Can I use chicken breasts instead of tenders?
Absolutely! Just slice boneless, skinless chicken breasts into strips about the size of tenders. This Garlic Parmesan Chicken Tenders Recipe works well with either option.
Is it possible to make these gluten-free?
Yes! Swap out the all-purpose flour and panko breadcrumbs for gluten-free alternatives. Make sure to choose gluten-free Parmesan cheese and seasonings if needed.
Can I cook these in an air fryer?
Definitely. Cook the coated tenders in an air fryer at 375°F for 10 to 12 minutes, shaking the basket halfway through for even crisping. It’s a quick and easy method that gives equally great results.
What dipping sauces go best with these tenders?
Marinara, ranch, and garlic aioli are all fantastic choices. You can also try honey mustard or a spicy sriracha mayo to mix things up.
How do I get extra crispy tenders?
Lightly broiling the tenders for 1 to 2 minutes after baking helps achieve that perfect extra crunch. Brushing them with olive oil or melted butter before baking also makes a big difference.
Final Thoughts
I hope this Garlic Parmesan Chicken Tenders Recipe inspires you to create a delicious and comforting meal that’s as easy as it is satisfying. Whether you’re feeding your family or hosting friends, these tenders deliver on flavor and crunch every time. Give this recipe a try—you’re just a few simple steps away from your new favorite chicken dish!
Print
Garlic Parmesan Chicken Tenders Recipe
- Prep Time: 15 minutes
- Cook Time: 20 minutes
- Total Time: 35 minutes
- Yield: 4 servings
- Category: Main Course
- Method: Baking
- Cuisine: American
- Diet: Nut-Free
Description
These Garlic Parmesan Chicken Tenders are crispy, flavorful, and easy to make. Coated in a savory mixture of panko breadcrumbs, Parmesan cheese, and aromatic spices, then baked to golden perfection, they make a perfect main course or snack. Ideal for a quick family meal or kid-friendly dinner, served with your favorite dipping sauce.
Ingredients
Chicken and Coating
- 1 1/2 pounds chicken tenders or boneless chicken breasts cut into strips
- 1 cup panko breadcrumbs
- 1/2 cup grated Parmesan cheese
- 1 teaspoon garlic powder
- 1/2 teaspoon Italian seasoning
- 1/2 teaspoon salt
- 1/4 teaspoon black pepper
- 2 large eggs
- 1/4 cup all-purpose flour
For Brushing
- 2 tablespoons olive oil or melted butter (for brushing or drizzling)
Garnish
- Chopped fresh parsley (optional)
Instructions
- Preheat Oven: Set your oven to 400°F and line a baking sheet with parchment paper to prevent sticking and ensure easy cleanup.
- Prepare Coating Mixture: In a shallow bowl, mix together panko breadcrumbs, grated Parmesan cheese, garlic powder, Italian seasoning, salt, and black pepper until well combined.
- Prepare Wet and Dry Dredges: Beat the eggs in a separate bowl. Place the flour in a third bowl to create three stations for coating the chicken tenders.
- Coat Chicken: Take each chicken tender and dredge it first in the flour coating all sides, then dip it into the beaten eggs, and finally press it firmly into the breadcrumb mixture to ensure thorough coating.
- Arrange on Baking Sheet: Place the coated chicken tenders evenly spaced on the prepared baking sheet to allow for even cooking.
- Brush with Oil or Butter: Lightly brush or drizzle the tenders with olive oil or melted butter to promote browning and a crispy texture.
- Bake: Put the baking sheet in the preheated oven and bake the tenders for 18 to 20 minutes, flipping them halfway through to ensure both sides are golden and cooked through.
- Optional Broil for Crispiness: If desired, broil the tenders for 1 to 2 minutes at the end of baking to achieve extra crispiness.
- Garnish and Serve: Remove from oven, garnish with chopped fresh parsley if using, and serve warm with your favorite dipping sauces such as marinara, ranch, or garlic aioli.
Notes
- For extra crispiness, broil the tenders for 1–2 minutes after baking.
- These chicken tenders can also be cooked in an air fryer at 375°F for 10–12 minutes as a quicker alternative.
- Serve with dipping sauces like marinara, ranch, or garlic aioli for enhanced flavor.
- Ensure chicken is cooked through to an internal temperature of 165°F for safety.

