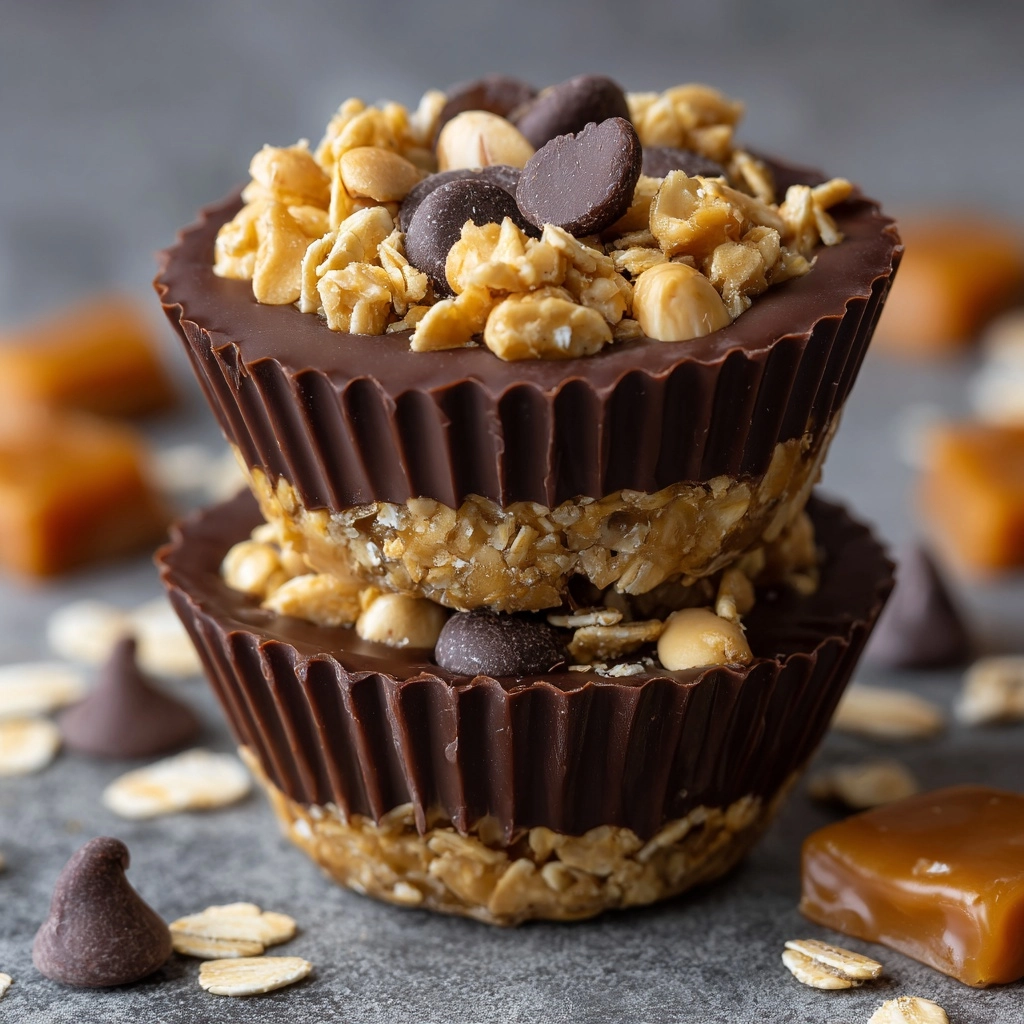
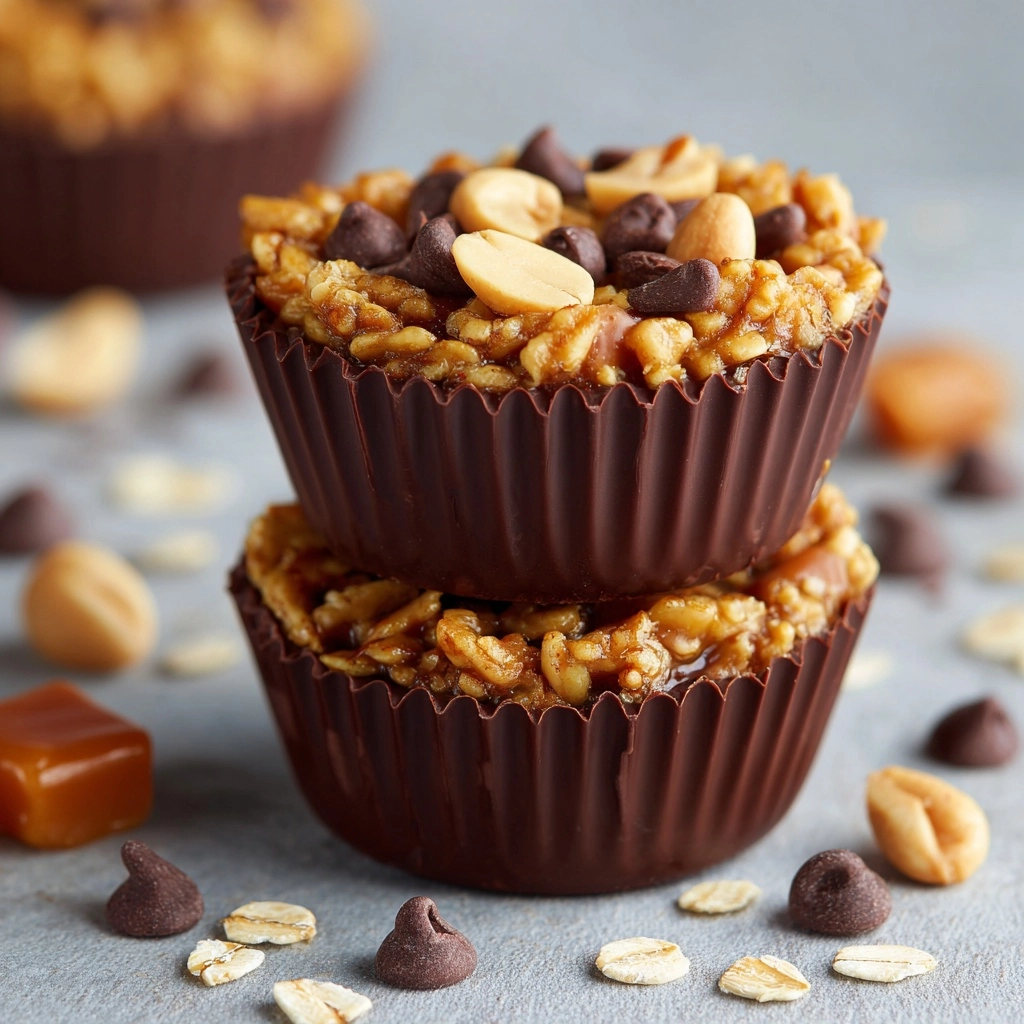
If you’re on the hunt for a delicious, wholesome treat that comes together in no time, look no further than this No-Bake Peanut Butter Granola Cups Recipe. These little cups are packed with comforting peanut butter, hearty oats, and just the right touch of sweetness to satisfy your cravings. The best part? No oven is required! They’re perfect for breakfast on the go, an afternoon snack, or a simple, nutritious dessert that feels indulgent but is surprisingly healthy. Let me show you how to bring these crunchy, chewy delights to life in your very own kitchen.
Ingredients You’ll Need
With just a handful of simple ingredients, you can whip up these granola cups that balance texture and flavor perfectly. Each ingredient plays a key role, whether it’s lending creaminess, crunch, or natural sweetness, making this recipe both easy and satisfying.
- 1 1/2 cups old-fashioned rolled oats: Provides the chewy base and hearty texture that makes each cup delightful to bite into.
- 1/2 cup natural peanut butter: Brings creamy richness and protein, ensuring these cups are both tasty and filling.
- 1/4 cup honey or maple syrup: Adds a natural sweetness and helps bind everything together smoothly.
- 1/4 cup chopped peanuts (optional): Introduces an extra layer of crunch and depth of peanut flavor if you want a bit more texture.
- 1/4 teaspoon cinnamon: Offers a warm, cozy undertone that complements the peanut butter beautifully.
- 1/4 teaspoon salt: Enhances all the flavors and balances the sweetness perfectly.
- 1/2 cup dark or milk chocolate chips (optional topping): Adds a luscious, indulgent finish that pairs wonderfully with peanut butter.
- 1 teaspoon coconut oil (if using chocolate): Helps melt and smooth out the chocolate for a shiny, irresistible topping.
How to Make No-Bake Peanut Butter Granola Cups Recipe
Step 1: Mix the Base Ingredients
Start by combining the oats, peanut butter, honey or maple syrup, chopped peanuts, cinnamon, and salt in a large bowl. Stir everything together until the mixture is evenly coated and sticks together well when you press it with your fingers. This step is crucial because it ensures each granola cup will hold its shape without crumbling apart.
Step 2: Shape the Cups
Line a muffin tin with paper liners or lightly grease each compartment to prevent sticking. Using about 2 tablespoons of the mixture per cup, press it firmly into the bottom of each liner using the back of a spoon. Pressing firmly is key—it helps create a compact, sturdy base that will hold together beautifully after chilling.
Step 3: Add the Chocolate Topping (Optional)
If you want to take these cups to the next level, melt your chocolate chips together with coconut oil in the microwave, heating in 20-second bursts and stirring in between until smooth. Spoon a small drizzle over each cup and spread evenly to create a glossy, chocolatey top. This step is optional but adds such a satisfying finish that’s hard to resist.
Step 4: Chill Until Firm
Place your muffin tin in the refrigerator and let the granola cups chill for at least 1 hour. This chilling time allows the peanut butter to set and the flavors to meld together. Once firm, carefully remove the cups from the tin and they’re ready to enjoy or store for later.
How to Serve No-Bake Peanut Butter Granola Cups Recipe

Garnishes
Add a sprinkle of sea salt or extra chopped peanuts on top of the chocolate for a pretty presentation and a burst of flavor. A light dusting of cinnamon can also enhance the warm notes in each bite.
Side Dishes
Pair these granola cups with fresh fruit like apple slices, banana, or berries for a colorful and refreshing contrast. A dollop of Greek yogurt on the side also makes for a creamy, protein-packed accompaniment.
Creative Ways to Present
Thinking beyond the muffin tin? Serve your No-Bake Peanut Butter Granola Cups Recipe on a wooden board alongside a small bowl of nut butter or drizzle them with homemade caramel sauce for a fun dessert platter. They also make adorable additions to lunchboxes or picnic baskets.
Make Ahead and Storage
Storing Leftovers
Leftover granola cups can be stored in an airtight container in the refrigerator for up to one week. Keeping them chilled preserves their texture and keeps the peanut butter fresh. This makes them fantastic to prepare in advance and enjoy throughout the week.
Freezing
If you want to keep them longer, freeze the granola cups in a sealed container for up to three months. Just thaw them in the fridge for about 15 minutes before serving to bring back that perfect bite.
Reheating
Since these cups are no-bake and chilled, reheating is usually not necessary. If you prefer a softer texture, let them sit at room temperature for a few minutes before enjoying. Avoid microwaving as it can melt the chocolate topping unevenly and make the texture too soft.
FAQs
Can I substitute the peanut butter with another nut butter?
Absolutely! Almond butter or sunflower seed butter work wonderfully as alternatives, especially if you’re catering to peanut allergies. The flavor will be slightly different but equally delicious and creamy.
Is this No-Bake Peanut Butter Granola Cups Recipe suitable for vegans?
Yes! Simply use maple syrup instead of honey and choose dairy-free chocolate chips. This recipe is naturally vegetarian and can easily be adapted for vegan diets without sacrificing flavor.
What is the best way to prevent the granola cups from sticking to the paper liners?
Lightly greasing the liners or using silicone muffin cups can help. You can also press the mixture firmly into the cups to ensure they maintain shape and don’t break apart when you try to peel away the liners.
Can I add dried fruit or other mix-ins?
Definitely! Mini chocolate chips, raisins, dried cranberries, or even coconut flakes mix beautifully with the oats and peanut butter. Just remember to adjust quantities slightly to keep the mixture binding well.
How long do these granola cups stay fresh?
Stored properly in the fridge, they stay fresh for about a week. Freezing extends their shelf life to a few months, making them a great batch snack to enjoy whenever cravings hit.
Final Thoughts
Now that you have this easy-to-follow No-Bake Peanut Butter Granola Cups Recipe, I can’t wait for you to try it out and make it your own. These cups are such a perfect way to enjoy a wholesome, satisfying treat that doesn’t demand much time or effort. Whether as a quick breakfast, snack, or dessert, they truly bring comfort and joy to any moment. Happy snacking!
Print
No-Bake Peanut Butter Granola Cups Recipe
- Prep Time: 10 minutes
- Cook Time: 0 minutes
- Total Time: 1 hour 10 minutes
- Yield: 12 granola cups
- Category: Snack, Breakfast
- Method: No-Cook
- Cuisine: American
- Diet: Gluten Free, Vegetarian
Description
These No-Bake Peanut Butter Granola Cups are a delicious and easy-to-make snack or breakfast option. Made with wholesome rolled oats, natural peanut butter, and sweetened with honey or maple syrup, these granola cups are packed with flavor and texture. The optional chopped peanuts add a delightful crunch, while a chocolate topping made from melted chocolate chips and coconut oil makes them irresistible. With no baking required, they’re perfect for a quick healthy treat that you can customize to your taste.
Ingredients
Main Ingredients
- 1 1/2 cups old-fashioned rolled oats
- 1/2 cup natural peanut butter
- 1/4 cup honey or maple syrup
- 1/4 cup chopped peanuts (optional)
- 1/4 teaspoon cinnamon
- 1/4 teaspoon salt
Optional Topping
- 1/2 cup dark or milk chocolate chips
- 1 teaspoon coconut oil (if using chocolate)
Instructions
- Mix Ingredients: In a large bowl, combine the oats, natural peanut butter, honey or maple syrup, chopped peanuts (if using), cinnamon, and salt. Stir everything until the mixture is evenly coated and holds together when pressed.
- Fill Muffin Tin: Line a muffin tin with paper liners or lightly grease each cup. Scoop approximately 2 tablespoons of the mixture into each cup. Press down firmly with the back of a spoon to form a compact, solid base for each granola cup.
- Prepare Chocolate Topping: If adding chocolate, melt the chocolate chips with coconut oil in the microwave using 20-second intervals, stirring in between until smooth. Spoon a small amount of the melted chocolate over each granola cup and spread evenly to cover the tops.
- Chill to Set: Place the muffin tin in the refrigerator and chill for at least 1 hour, or until the granola cups are firm and set.
- Serve and Store: Once set, remove the granola cups from the muffin tin. Store them in the refrigerator or freezer to maintain freshness and enjoy as a quick snack or breakfast.
Notes
- Use almond butter or sunflower seed butter as a substitute for peanut butter for allergy-friendly versions.
- Add mini chocolate chips or dried fruit for extra texture and flavor variations.
- For gluten-free versions, ensure you use certified gluten-free rolled oats.
